
Applying wall stickers is a fun, affordable and transformative way to personalise your home. At Tenstickers, we make it super easy with our high-quality vinyl decals and clear, step-by-step instructions. Let us walk you through a smooth installation process that’ll leave your walls looking amazing—bubble‑free, clean, and beautifully finished!
Why Choose Tenstickers?
Before we dive in, here’s why we stand out:
- Premium quality materials:
- Durable vinyl that adheres well but removes cleanly.
- Personalisation:
- Make it uniquely yours! We offer the ability to personalise stickers from your own images, and many of our existing designs can be customised to your exact specifications
- Huge variety:
- From kids’ motifs to elegant quotes or bespoke designs
- Careful packaging:
- Each order includes the decal, clear protective sheet, backing paper, and a spatula tool if needed.
- Accessible Pricing:
- Enjoy high-quality stickers that are friendly to your budget, making great design accessible to everyone.
Step‑by‑Step Application Process
Follow these easy steps—based on Tenstickers’ official guidelines—for a flawless finish:
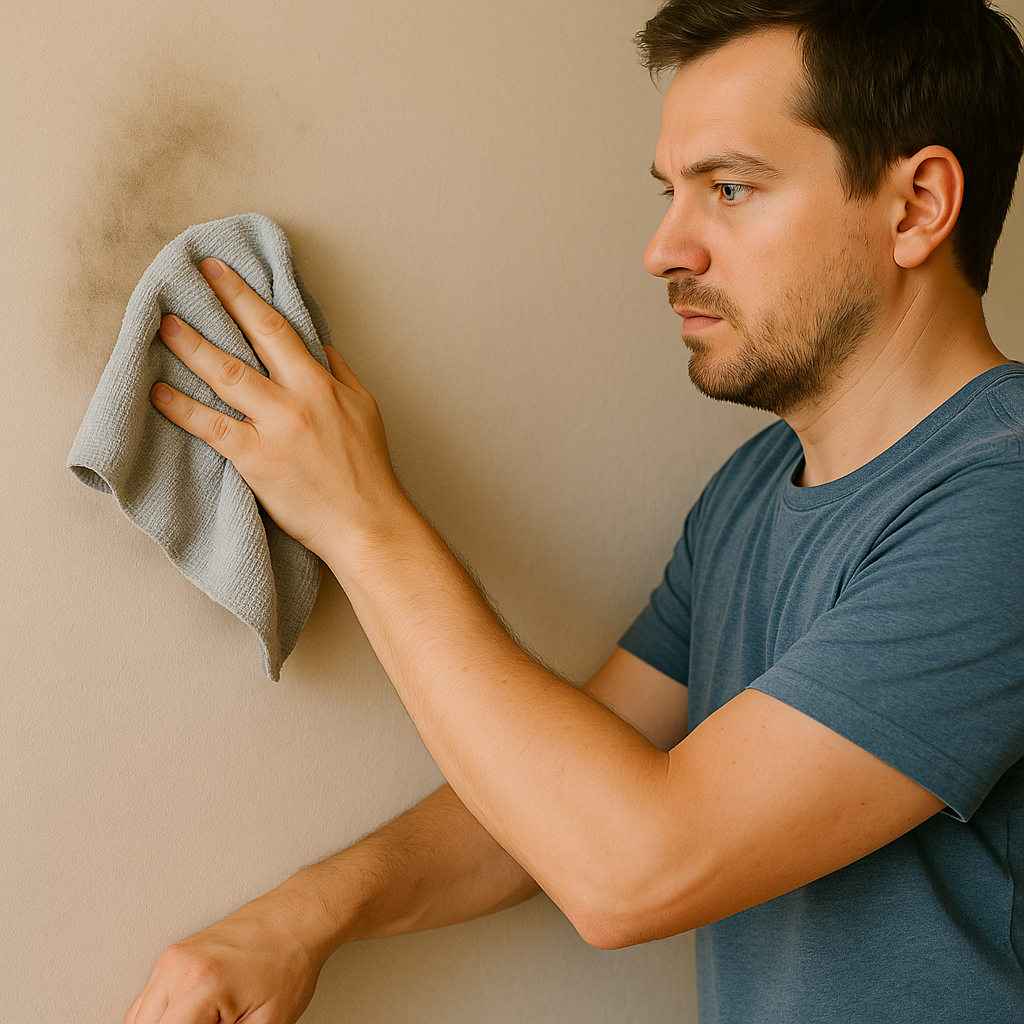
Prepare Your Surface
Ensure your wall is clean, dry, and free of dust or grease for the best adhesion. A smooth, flat surface is ideal, so avoid rough or heavily textured walls. Make sure the room is at a comfortable room temperature, not too humid or cold, to help the sticker adhere properly.
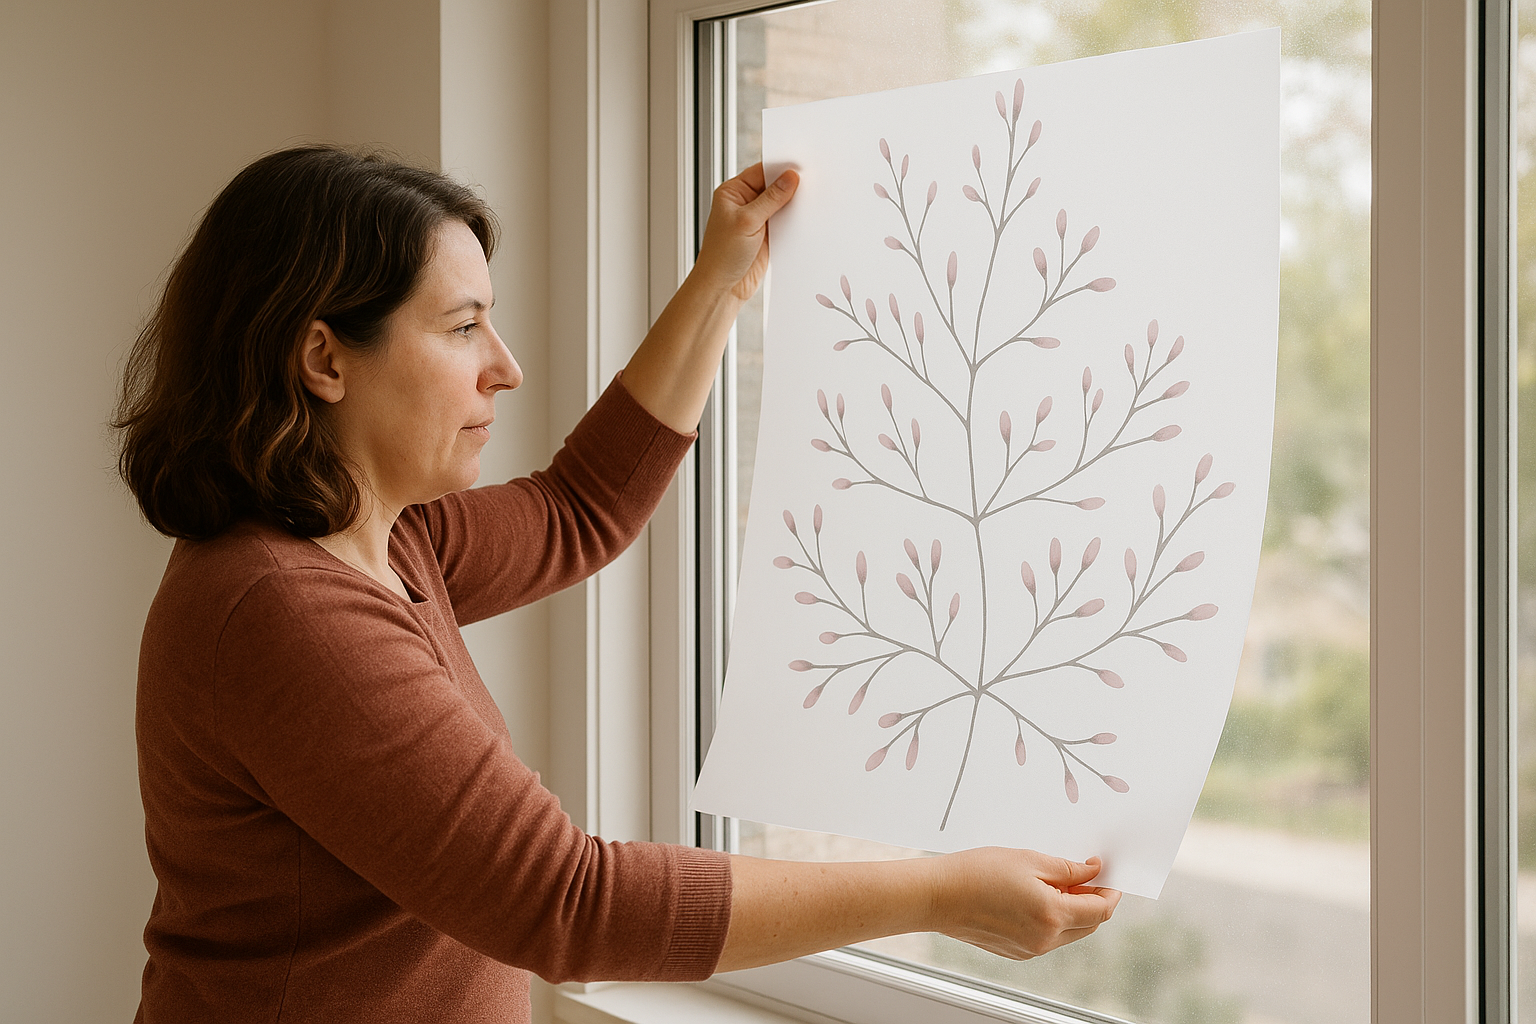
Lay Out Your Sticker
With good lighting, decide the exact placement of your sticker. Use a pencil and a level to lightly mark the top or edges of your design. This will help you keep your sticker perfectly straight.
Remove the Backing Paper
Carefully begin peeling the backing paper from one corner. Pull it back at a 180-degree angle, keeping it close to the sticker to prevent stretching the vinyl. For larger designs, it’s easier to peel the backing paper in sections.
Position & Smooth
Gently align the sticker on the wall using your marks. Starting from the center, gently smooth outward with the included plastic spatula or a clean, soft cloth. Work in small sections, unsticking, aligning, and smoothing as you go.
Apply Pressure
Once positioned, press firmly over the entire design, paying extra attention to the edges to ensure strong adhesion. Use your spatula or a microfiber cloth to thoroughly rub over the whole sticker.
Remove the Protective Layer
After the sticker is firmly adhered, slowly and carefully peel off the transparent transfer film. Pull it at a 180-degree angle, keeping it as close to the wall as possible. If any part of the sticker lifts with the film, simply press it back down and continue peeling gradually.
Smooth Final Touches
Finally, use your spatula or cloth to remove any remaining air bubbles by pushing them towards the edges of the sticker. For stubborn bubbles, you can make a tiny pinhole with a needle and gently squeeze the air out, then smooth it down.
Any Problems You May Face:
- Sticker lifting at corners
- Press edges firmly; reapply if necessary
- Air bubbles
- Smooth out with a cloth; pierce small bubbles with a pin if necessary
- Stripes or lines
- Apply slowly section by section; don’t rush
- Dust beneath sticker
- Lift sticker gently, clean the surface, and reinstall
Why It’s So Engaging & Easy with Tenstickers
- Pre‑masked and pre‑cut:
- No need to fuss with complex layouts
- No need to fuss with complex layouts
- Comprehensive tools and guides:
- Spatula included; detailed YouTube tutorial aids visual learners .
- Spatula included; detailed YouTube tutorial aids visual learners .
- Versatile styles:
- Mix and match based on room theme, size, and colour to suit your décor .
Creative Inspiration & Ideas
- Nursery magic:
- Jungle animals, alphabet decals, fairy tales.
- Motivational quotes:
- Inspiring messages in your office or gym.
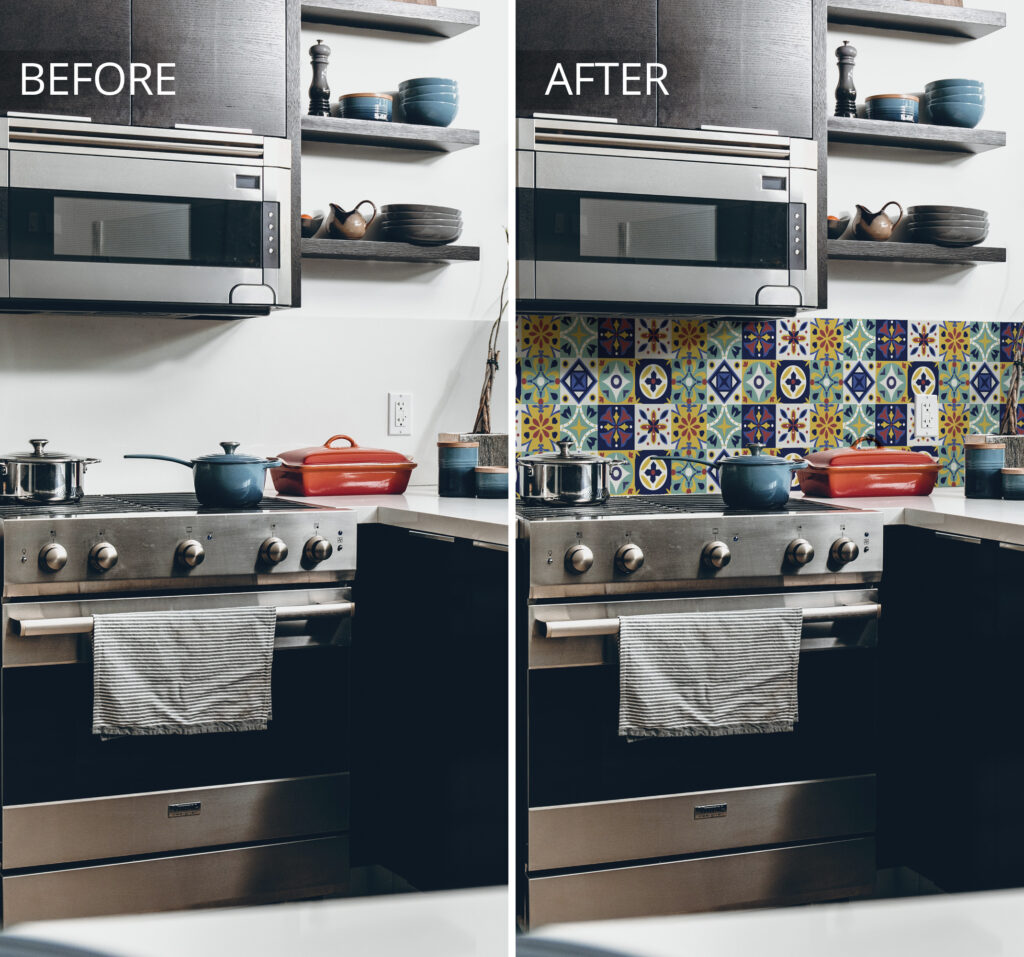
- Themed zones:
- Kitchen decals, bathroom quotes, or border trims.
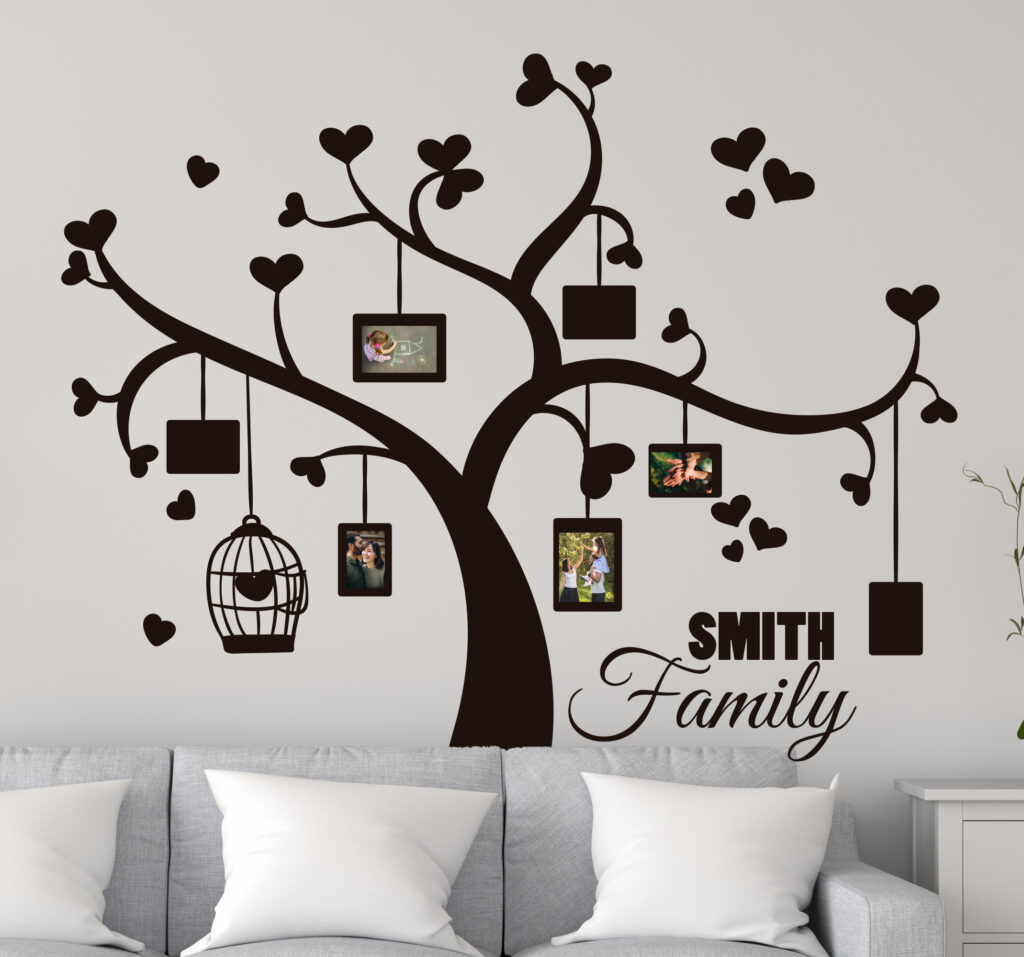
- Living room flair:
- Abstract designs, nature scapes, family plaques.
- The beauty is in the variety—you can refresh your décor anytime!
- Abstract designs, nature scapes, family plaques.
Final Tips for a Stunning Finish
- Work slowly and mindfully:
- Especially on large or multi-piece designs.
- Team up:
- An extra pair of hands helps with bigger decals.
- Post-application care:
- Avoid scrubbing or moisture for 48 hours.
- Adjust as needed:
- Peel up and reposition small sections if alignment is off.
In Summary
- Prepare:
- Clean, dry, and level your surface.
- Peel & position:
- Backing off at 180°, lay the vinyl with care.
- Smooth & stick:
- From center outward; pressure ensures strong adhesion.
- Finish:
- Remove transfer film and touch up any bubbles.
- Enjoy:
- A beautiful, personalised wall with minimal effort.
- With Tenstickers, transforming your space is stress-free and enjoyable. Our quality, tools, and support make all the difference. Stick to these steps, and you’ll end up with a stunning, professional-looking finish every time.
- A beautiful, personalised wall with minimal effort.