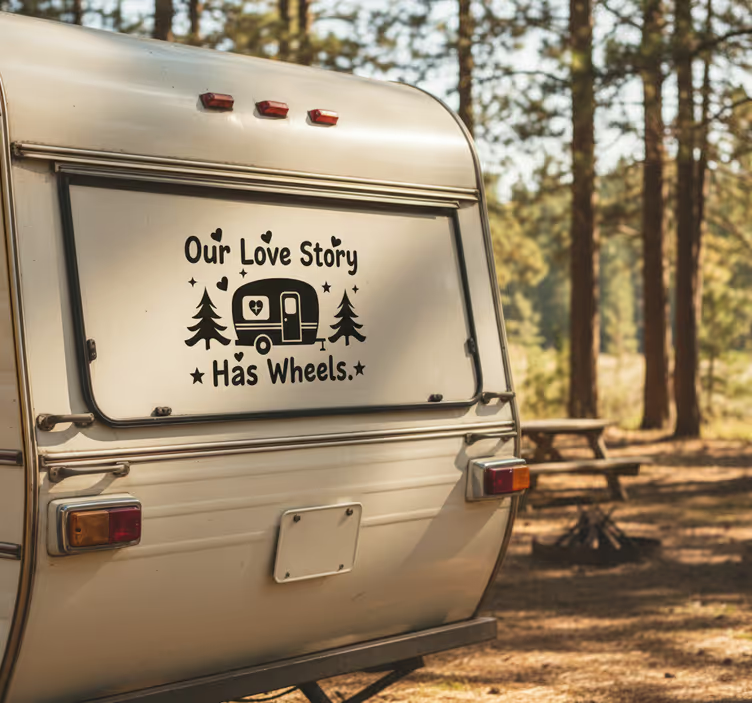

Fitting graphics to a campervan is one of the most satisfying parts of any van build — but it’s also one of the easiest things to get wrong if you rush it. Cold panels, dusty surfaces, and impatient peeling are the three most common reasons campervan decals bubble, lift at the edges, or go on crooked. This guide walks you through the process properly, from prep to finish, so your graphics look professional and last for years.
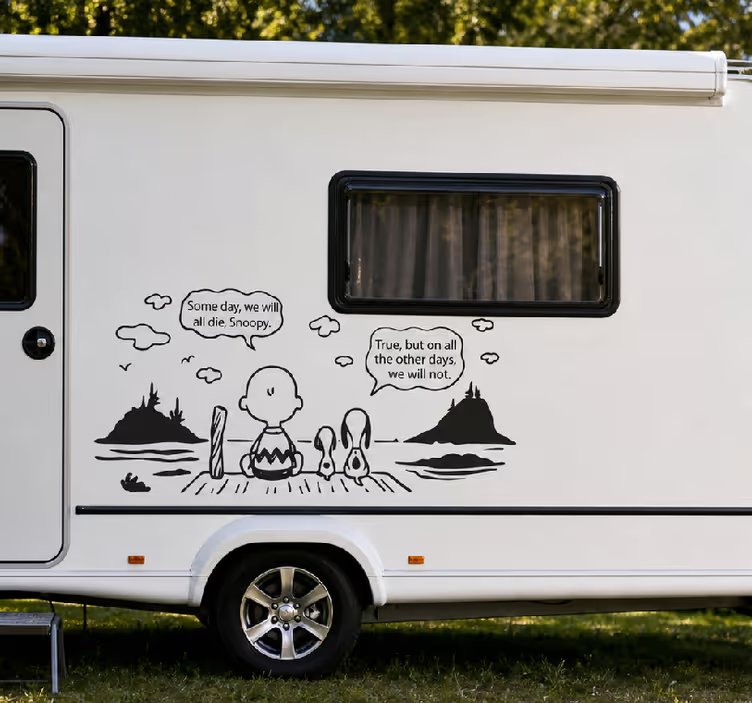
Snoopy and Charlie lake campervan sticker
What You’ll Need
- Your campervan decals
- Isopropyl alcohol (70% or above) and a clean cloth
- A plastic squeegee or spatula (included with TenStickers orders)
- Masking tape
- A measuring tape or ruler
- A helper for large side graphics (strongly recommended)
- A warm, sheltered working environment
Step 1: Choose the Right Conditions
Temperature matters more than most people realise. Vinyl adhesive needs a surface temperature of at least 10°C to bond properly — ideally between 15°C and 25°C. Applying graphics to a cold van that has been sitting outside overnight is one of the most common causes of poor adhesion and edge lifting. If you’re working in a cold garage or in winter, allow the van to warm up for at least an hour in a heated space before you start.
Avoid applying decals in direct sunlight. Hot panels cause the adhesive to tack too quickly, making repositioning impossible and often causing bubbles to form as trapped air expands.
Wind is also your enemy. Even a light breeze can catch large side graphics mid-application and cause them to fold or stick in the wrong place. Work indoors or in a sheltered area wherever possible.
Step 2: Clean the Surface Thoroughly
This is the most important step and the one most people rush. Any dust, grease, wax, or polish residue between the decal and the panel will prevent full adhesion and cause the edges to lift over time.
Clean the entire area where the decal will be applied with isopropyl alcohol on a clean microfibre cloth. Wipe firmly in one direction — don’t use a circular motion, as this can redistribute rather than remove contamination. Pay particular attention to panel edges, door seams, and any areas around trim where wax tends to build up.
Do not use glass cleaner or household spray cleaners on painted panels — these often leave a residue that interferes with vinyl adhesion. Isopropyl alcohol evaporates cleanly and leaves no trace.
Allow the surface to dry completely before proceeding — typically two to three minutes after cleaning.
Step 3: Measure and Position
Before removing any backing, use masking tape to dry-position your graphic exactly where you want it. Step back and check the alignment from a distance — what looks straight up close can look angled when you step back. Use a measuring tape to check equal distances from the roofline, wheel arch, or door edge on both ends of the graphic.
For large side graphics, use horizontal guide lines of masking tape along the top and bottom of where the decal will sit. This gives you a reference to align against as you apply.
Mark the centre point of the graphic and the centre point of the panel. Aligning these first prevents the graphic from drifting left or right as you work outward.
Step 4: Apply Using the Hinge Method
For large graphics, the hinge method is the most reliable way to get a straight, bubble-free application:
- With your dry-positioned graphic held in place by masking tape along the top edge, fold the bottom half away from the panel and peel the backing paper from the bottom half only. Fold the backing paper under the top half to keep it out of the way.
- Starting from the centre, lower the exposed adhesive side onto the panel, smoothing firmly outward and downward with your squeegee as you go. Work from the centre to each edge in overlapping strokes.
- Once the bottom half is applied, fold back the top half, remove the remaining backing paper, and repeat the process from the centre upward.
For smaller graphics, you can simply peel the full backing, position carefully, and smooth from the centre outward with your squeegee or a firm card.
Step 5: Remove the Transfer Tape
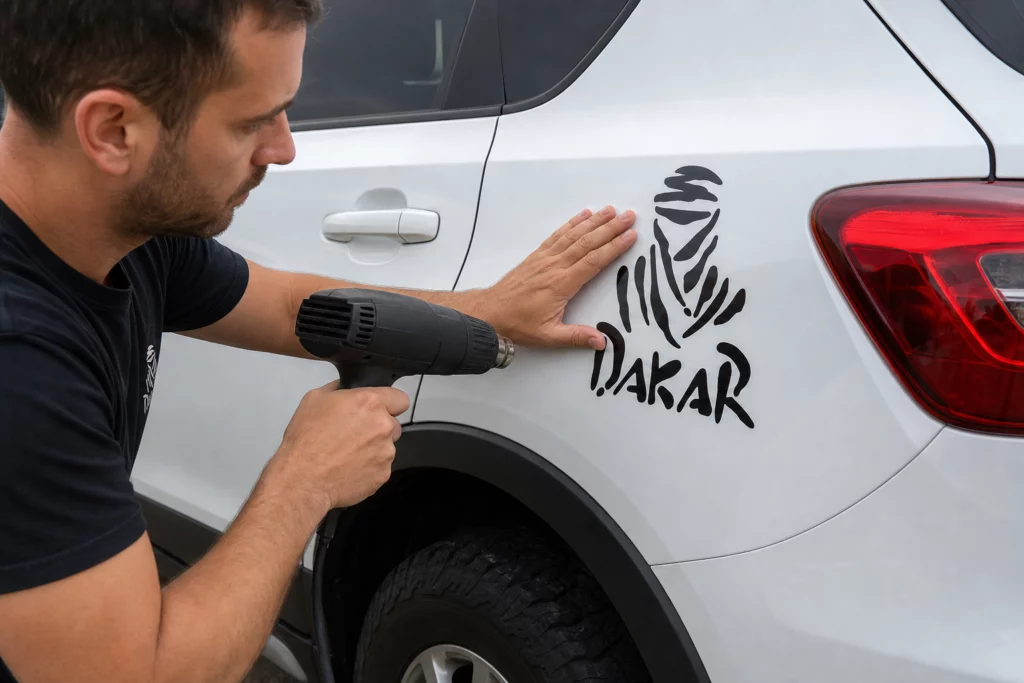
Most campervan decals come with a clear transfer tape over the top that holds the graphic together during application. Once the decal is firmly pressed down, peel this transfer tape back slowly at a low angle — 30 to 45 degrees rather than straight up. If any part of the graphic starts to lift with the tape, press it back down and wait another minute before trying again. Warming the transfer tape very slightly with a hairdryer can help it release more easily on intricate designs.
Step 6: Remove Air Bubbles
Small air bubbles are normal immediately after application and most will disappear on their own within 24 to 48 hours, especially in warm conditions. For any persistent bubbles, use the tip of a pin or needle to make a tiny hole at the edge of the bubble, then smooth gently with your squeegee to push the trapped air out. The pin hole will be invisible once the vinyl settles.
Do not try to lift the decal to remove bubbles — this almost always makes them worse.
Step 7: Allow to Cure
Leave the van undisturbed for at least 24 hours after application before driving. Avoid car washes and rain exposure for 48 hours to allow the adhesive to fully cure and bond to the surface. In cold conditions, allow 72 hours before washing.
Common Mistakes to Avoid
- Applying to a cold or damp surface — the most common cause of edge lifting
- Rushing the surface prep — any contamination will eventually cause failure
- Pulling backing paper straight up — always peel at a low angle
- Applying in direct sunlight — causes premature tacking and bubbles
- Stretching the vinyl — vinyl that has been stretched will shrink back and lift at the edges
How Long Will Campervan Graphics Last?
Applied correctly to a properly prepared surface, premium vinyl campervan graphics will last 5 years or more under normal UK conditions. Our decals at TenStickers are made from 80-micron cast PVC vinyl — UV-stabilised, weatherproof, and rated for outdoor vehicle use. They will outlast cheaper alternatives significantly when applied using the method above.
Shop Campervan Decals
Ready to fit your graphics? Browse our full range of campervan decals and campervan stickers — made to order, custom-sized, and designed for UK van builds.