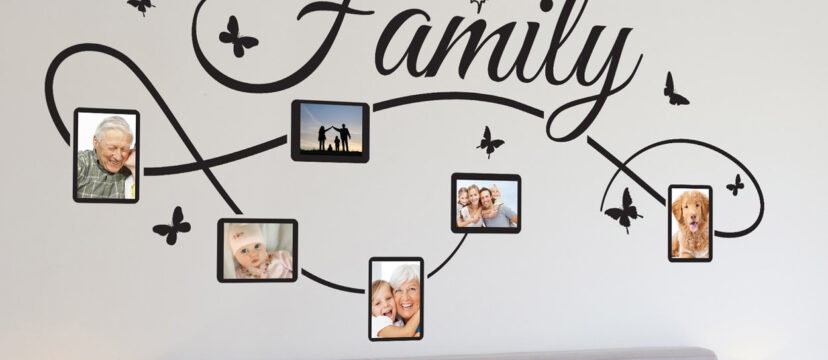
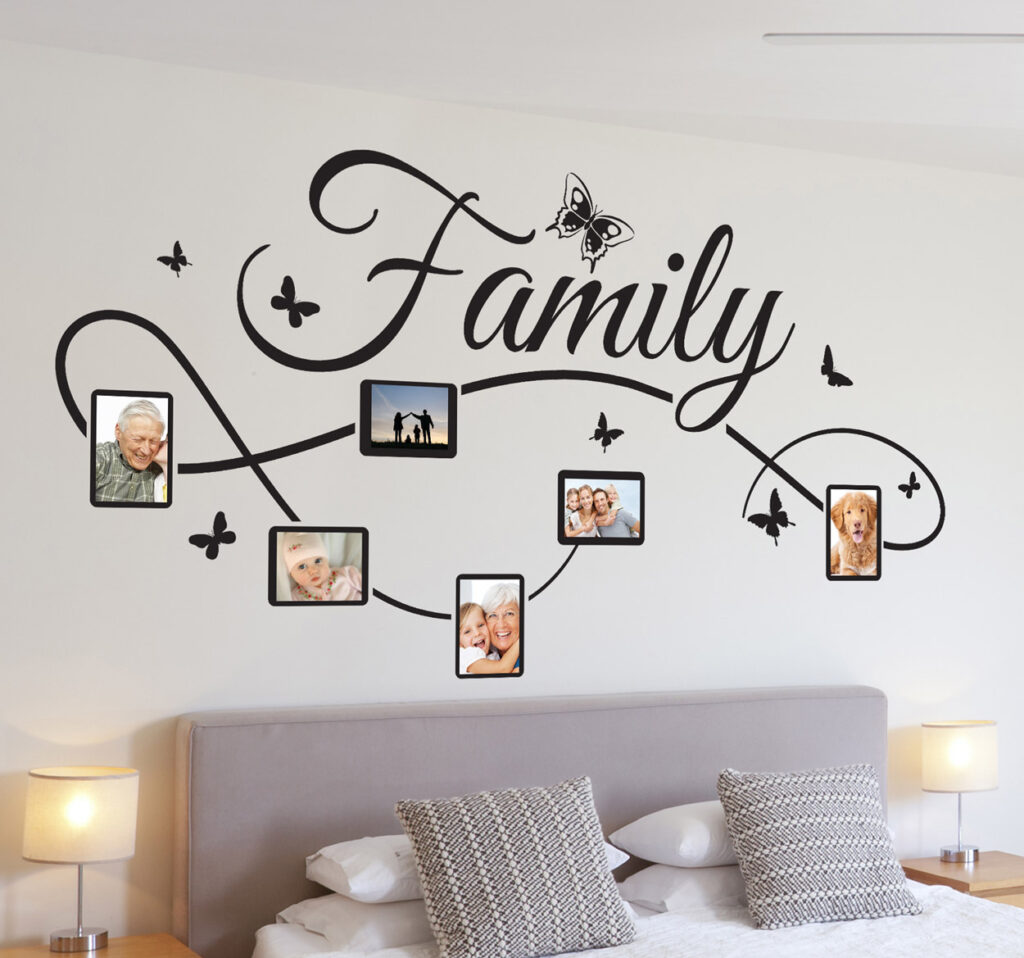
Wall stickers are the perfect way to refresh any space: kid’s room, living room, office, even furniture or tiles. But how do you apply them flawlessly—and why are Tenstickers the top choice? Let’s break it down.
Why Wall Stickers are Awesome (and Easy!)
Before we dive in, let’s talk benefits:
- Zero mess:
- Unlike paint or wallpaper, no fumes, spackling, or drying time.
- Customisable designs:
- Pick any shape, size, colour or style—from elegant quotes to bold murals. At Tenstickers you can even personalise the text, sizes and pictures of our designs.
- Rent-friendly:
- Easy to remove and leaves no residue.
- Versatile use:
- From smooth walls to furniture, mirrors, glass, even car bumpers!
At Tenstickers, we’ve seen how a single decal can turn a bland room into a creative statement. And our high-quality vinyl ensures lift‑and‑shift perfection (yes, no stretching or torn corners!).
What You’ll Need (Spoiler: It’s Minimal)
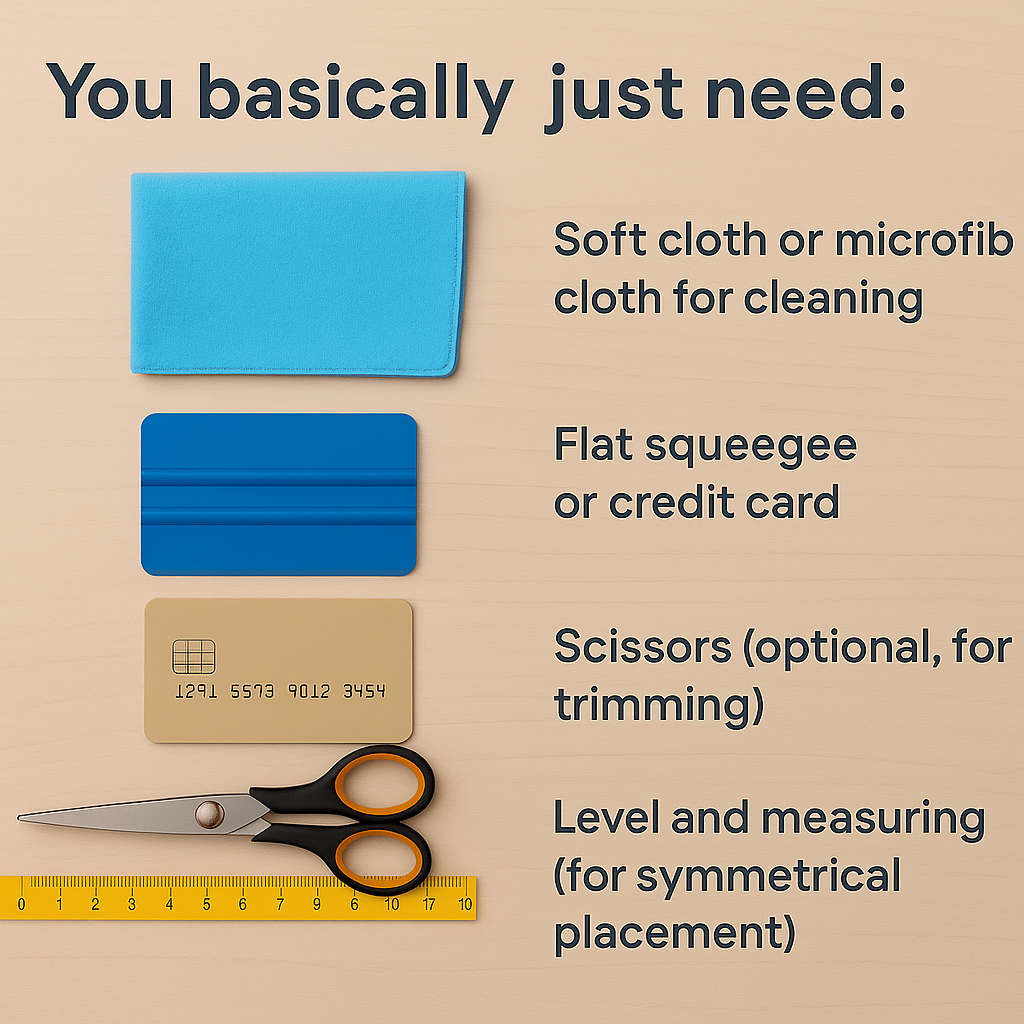
You basically just need:
- Your Tenstickers wall sticker kit (comes with transfer tape, decal, a spatula available in our website and instructions)
- Soft cloth or microfibre for cleaning
- Flat squeegee or credit card to burnish decal
- Scissors (optional, for trimming)
- Level and measuring tape (for symmetrical placement)
That’s it—no special tools, no costly extras.
Step-by-Step: How To Apply Wall Stickers Like a Pro
Follow these six steps for a flawless result:
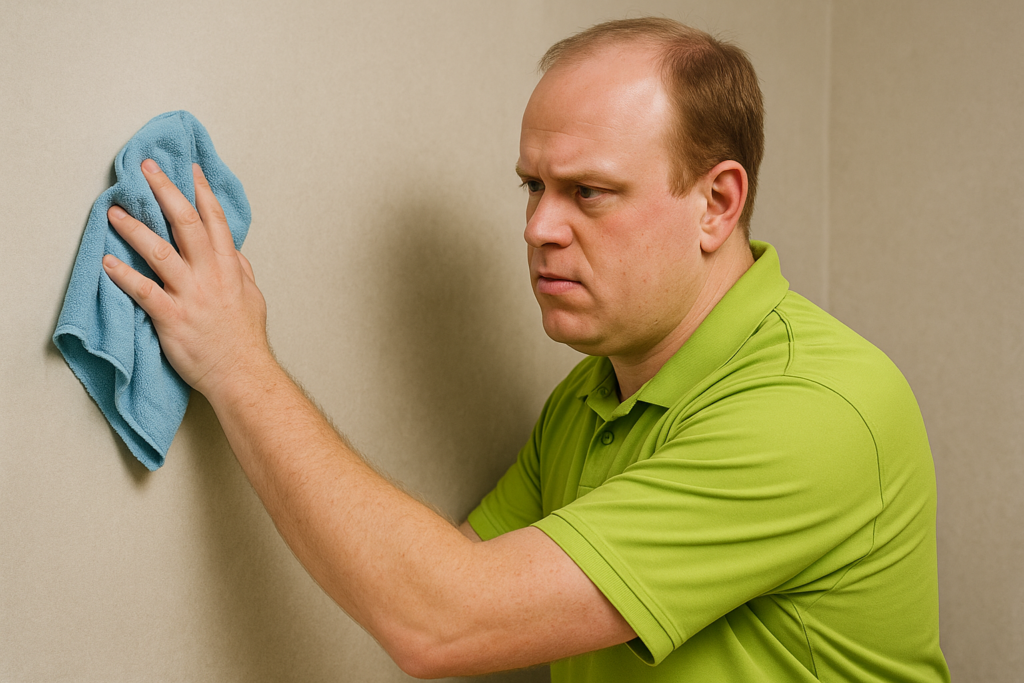
Step 1: Prepare Your Surface
For best results, apply your Tenstickers vinyl sticker to a clean, dry, smooth, non-porous surface—avoid dirt, stains, and especially glass cleaners, which leave residues that weaken adhesion; use water or pharmacy-grade alcohol instead. Only apply on plastic (acrylic) paint and wait 4–6 weeks after painting to ensure proper grip. Wrinkles in the transfer paper from shipping won’t affect the vinyl—just flatten with a spatula before applying. If unsure about your surface, contact info.uk@tenstickers.com.
Step 2: Unpack and Check Contents
Remove the seal from the cardboard tube and take out the vinyl sticker and the positioning template. Lay everything flat on a clean surface like a table or floor. Confirm that the design matches your order and check if it’s in one piece or several (especially for large designs or photo murals). Make sure no sections are missing.
Step 3: Down the Transfer Sheet
Using a spatula (or similar flat tool), firmly rub over the entire surface of the transparent transfer paper on top of the sticker. Focus extra pressure on intricate or small design details to make sure the vinyl is fully attached to the transfer sheet.
Step 4: Measure and Mark the Wall
Use a tape measure and level to mark where the sticker will be placed. Double-check alignment and spacing—this ensures the design is applied straight and in the correct position.
Step 5: Peel Back the Top Edge
Carefully peel back about 5 cm of the white silicon backing paper from the top of the sticker to expose the adhesive area. Do not remove the entire backing yet.
Step 6: Stick the Top Section to the Wall
Attach just the exposed top part of the sticker to the wall. Press it firmly so it stays in place. This step helps anchor the sticker while you apply the rest.
Step 7. Apply the Sticker Gradually
Slowly continue to peel off the white backing paper while pressing the sticker onto the wall bit by bit. Use the spatula to smooth the sticker from the centre outward to avoid air bubbles and creases.
Step 8. Final Pressure and Finish
Once the entire sticker is on the wall, go over it again several times with the spatula—pressing firmly on top of the transparent transfer layer. When done, slowly remove the transfer layer, leaving the vinyl perfectly applied to the wall.
Common Trouble Spots & Fixes
Perfect results don’t always happen without a bump:
- Bubble under vinyl?
- Burnish it out from the centre.
- Sticker lifting at edges?
- Burnish again or warm corner with a hairdryer, then press.
- Misaligned design?
- Some Tenstickers decals can be gently repositioned within minutes while adhesive is fresh—but avoid repeated repositioning.
- Some Tenstickers decals can be gently repositioned within minutes while adhesive is fresh—but avoid repeated repositioning.
- Pro tip for kids’ rooms: Install above furniture or play area to avoid hand-touching and peeling.
Why Choose Tenstickers Over Other Brands?
- Premium Materials
- Our vinyl is thick, durable, and fade-resistant—ideal for long-lasting beauty even on low-sheen or textured walls.
- Simple Install Kits
- Each sticker arrives with a transfer tape overlay and squeegee—no guesswork, no missing tools.
- Design Variety
- From Scandinavian wall art and nursery themes to large-scale murals and custom lettering—Tenstickers has over 40 categories to suit every style and room.
- Eco & Rental Friendly
- Removable, easy to move, and residue-free; perfect for renters, students, or artists who love to refresh their rooms often!
Stellar Customer Support
At Tenstickers we provide step‑by‑step instructions, installation videos, and live-chat help for any questions—plus a hassle-free replacement policy if something arrives damaged.
Made in Europe, For the Whole World
Based in Spain, we know European tastes and measurement systems, so your decals arrive sized right—and shipped fast across the continent (and beyond).
Tips to Boost Your Sticker Game
Pair stickers with decals or wall paint for layered wall styling—like a Treble Clef vinyl plus Tenstickers’ phrase decal.
Try textured walls? First sample a small sticker to test adhesion.
Decorating multiple walls? Mirror the design on an opposite side for balance.
In kids’ rooms? Choose trendy themes (dinosaurs, space, superheroes), and swap them out as they grow.
A Final Word From Us
Applying wall stickers doesn’t have to be tricky—or messy. With the right surface prep, measuring, burning, and patience, you’ll have a stunning accent in under 15 minutes. And when you choose Tenstickers, you’re backed by premium quality, thoughtful design, easy installation, and fast support.
Ready for a creative makeover? Visit Tenstickers to explore our full range and find the perfect decal to bring your walls—or furniture—to life. And once you’re done, share your success—we love seeing your transformations!