Are you ready to freshen up your space with a sleek new roller blind? Installing one doesn’t have to be a chore. In this guide, Tenstickers walks you through how to install a roller blind step by step—no sweat, no stress, just quick, clean results.
1. What You’ll Need
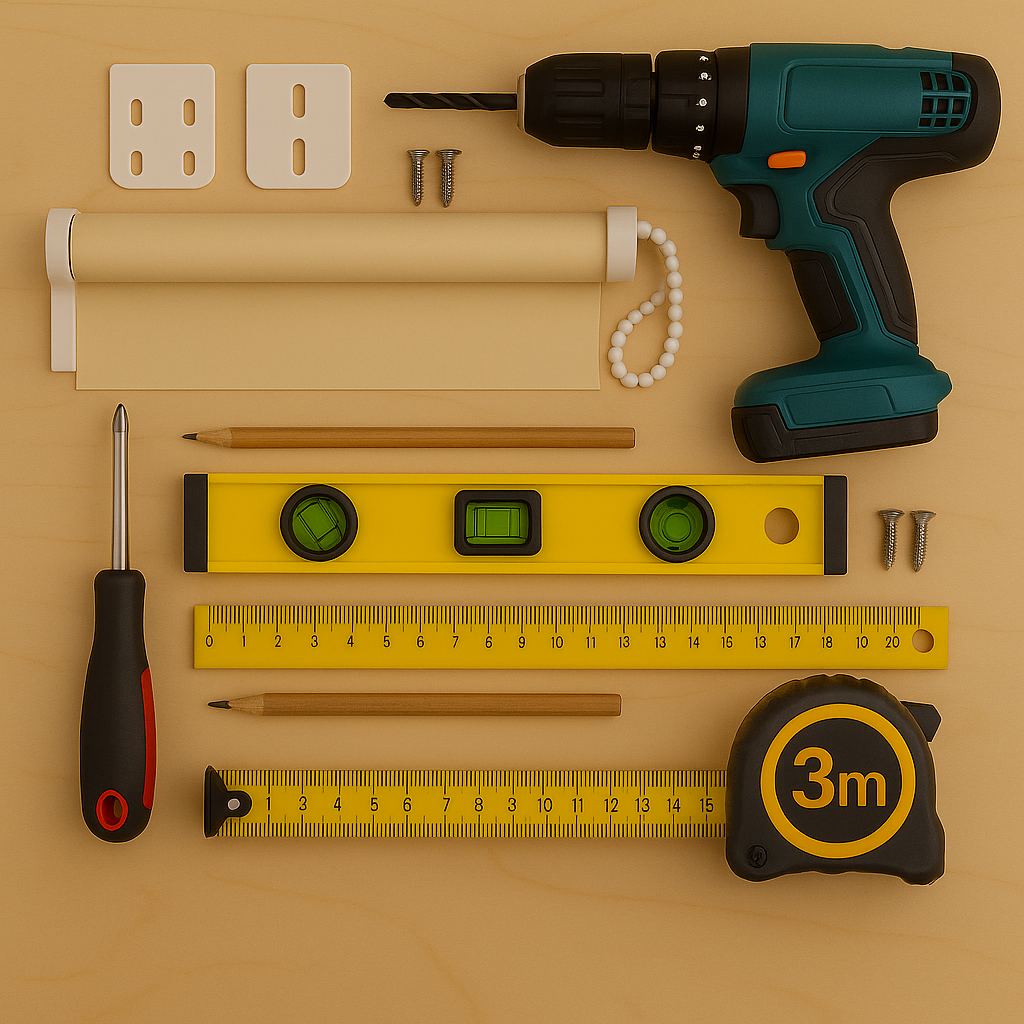
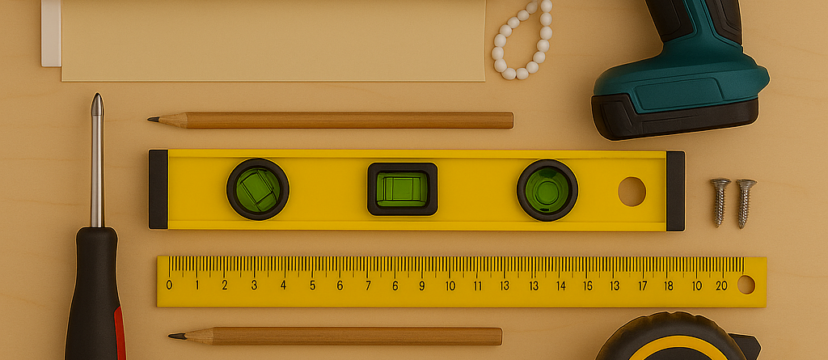
Before you start, here’s a handy checklist of everything to grab:
- Roller blind kit (with roller, brackets, screws, and control chain)
- Drill + masonry or wood bits (depending on wall type)
- Screwdriver (manual or electric)
- Tape measure
- Pencil
- Spirit level
- Optional: wall plugs (if drilling into plaster or concrete)
Step 1: Choose Your Mounting Style
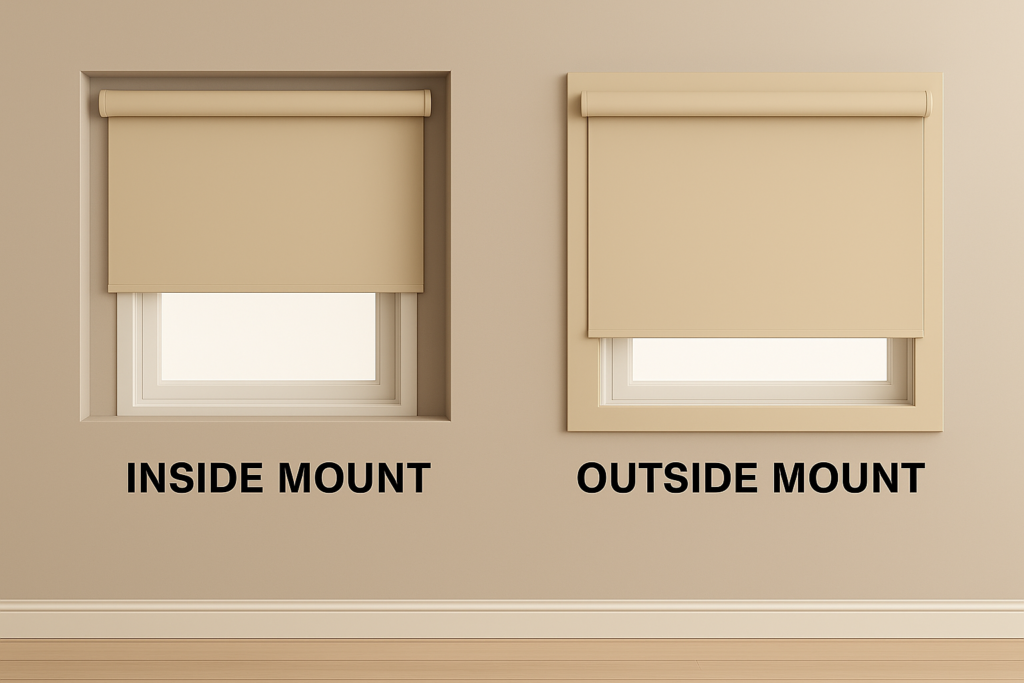
First off, there are two options:
- Inside mount
- The blind sits inside the window frame, giving a neat, flush finish.
- The blind sits inside the window frame, giving a neat, flush finish.
- Outside mount
- The blind is mounted above the window, great for rooms that need extra blackout coverage or where the frame is too shallow.
- Top tip: If your window has a depth of at least 6 cm, go for inside mount. At Tenstickers, we see plenty of customers opt for inside mount blinds to showcase their wall stickers or Super‑Stick decals—keeping the window area as stylish and uncluttered as possible.
- The blind is mounted above the window, great for rooms that need extra blackout coverage or where the frame is too shallow.
Step 2: Measure Twice, Drill Once
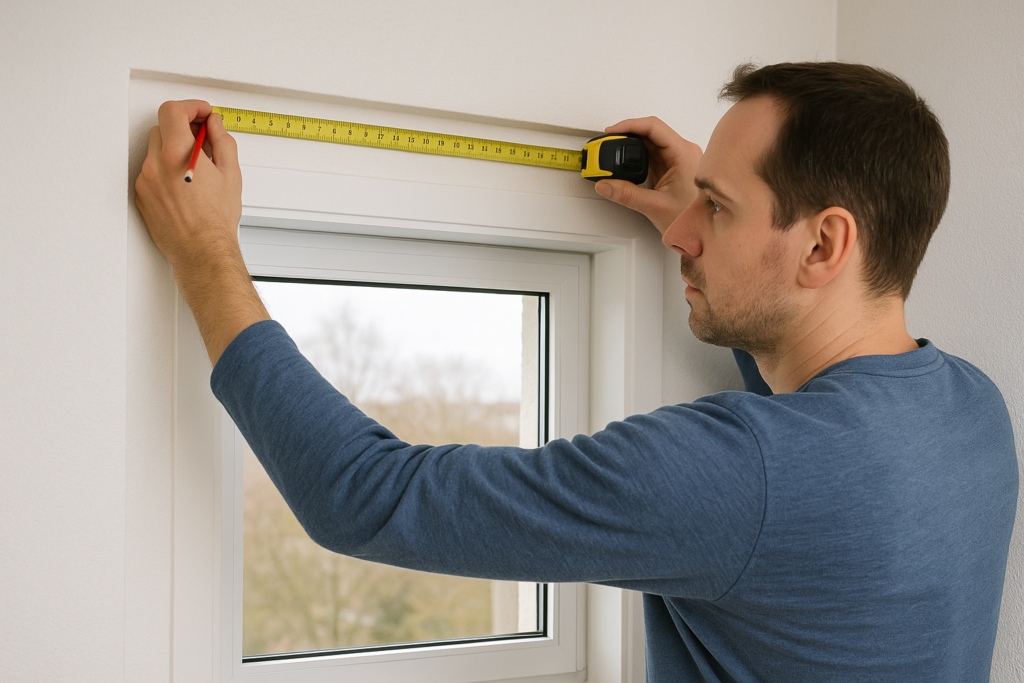
Accurate measurements = perfect installation. Follow this:
- Inside mount:
- Measure the width and height of the window opening and deduct 5 mm of width.For example, if you want a roller blind for a window opening of 100 cm x 180 cm, you should order a roller blind of 99.5 cm x 180 cm.
- Measure the width and height of the window opening and deduct 5 mm of width.For example, if you want a roller blind for a window opening of 100 cm x 180 cm, you should order a roller blind of 99.5 cm x 180 cm.
- Outside mount:
- Measure the window’s width, then add at least 2 cm on each side for full coverage. Same for height—window top to frame bottom, plus a margin for overlap.
Mark your bracket holes using a spirit level so everything stays perfectly aligned.
- Measure the window’s width, then add at least 2 cm on each side for full coverage. Same for height—window top to frame bottom, plus a margin for overlap.
Step 3: Installing the Brackets
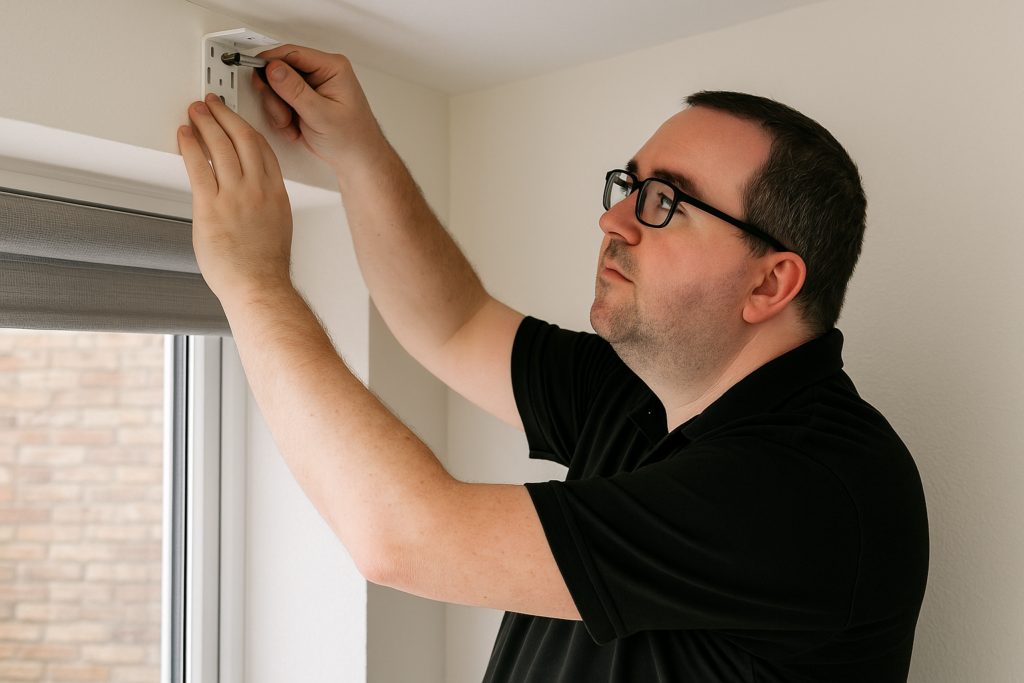
- Hold the bracket up to the marked spot.
- Drill pilot holes using the correct drill bit (for wood or masonry).
- Insert wall plugs if needed.
- Screw the brackets in—tight enough to hold firm, not over‑tight.
- Make sure the brackets are level and spaced to match your roller blind size. An uneven blind can roll crooked—which no one wants!
Step 4: Fit the Roller Blind
Now it’s time to install the blind itself:
- Compress the spring side of the blind shaft and hook it into its bracket.
- Insert the other end into the driven bracket (the one with the gear).
- Pull the chain once or twice; the blind will drop and anchor itself in place.
- Give it a test roll up and down a few times to ensure smooth operation.
- If it binds at any point, check the bracket alignment again.
Step 5: Install the Chain Guide (for Safety)
For homes with kids or pets, safety is key. Most roller blinds come with a chain guide:
- Position the guide 150 cm to 160 cm above the floor and close to the wall.
- Mark the screw hole, drill, insert plugs if needed, and mount the guide.
- Clip the chain into it—snug, but not too tight.
- This keeps the chain taut and out of reach. Ensuring their safety!
Step 6: Add the Finishing Touches
Your roller blind is tucked in, but we’re not done yet:
- Use a spirit level to check that the bottom rail is straight; adjust the brackets if needed.
- Clean up any dust or drill debris.
- Optionally, attach bottom-weight inserts for a smoother roll (often included).
- Optionally, attach bottom-weight inserts for a smoother roll (often included).
Voilà—your new roller blind is fully installed!
Why Install Roller Blinds from Tenstickers?

At Tenstickers, we believe your windows deserve more than just a blind—they deserve to be both stylish and functional. Our roller blinds offer a huge range of designs, from chic solids to playful patterns, perfect for matching our popular wall decals.
You’ll find easy installation kits included, with everything you need and clear instructions. We use only high-quality components, ensuring smooth rolling, fade-resistant fabrics, and sturdy brackets for durability. Plus, safety is a priority, with options for cordless blinds or chain-guided mechanisms that are child-safe.
Even with clear instructions, minor issues can arise. If your blind isn’t level, check the bracket positions and use a spirit level. If it’s too tight or loose when rolling, ensure the blind’s shaft is correctly seated in both brackets. Lastly, if the chain is sagging, adjust or reposition its guide until it’s taut, ideally around 150 cm above the floor.
Pro Tips For A Flawless Finish:
- Double check measurements before ordering or drilling.
- Have a second person help
- They can hold the blind while you fix brackets.
- Line up designs straight to ensure patterns or stripes match across multiple windows.
- Use cordless versions in kid‑centric spaces for extra safety.

Final Thoughts
Learning how to install a roller blind is easier than you’d think—and the results can completely transform a room. With the right tools, clear instructions, and a quality product like those from Tenstickers, you’ll be done in less time than it takes to binge-watch your favourite show.
Ready to take action? Browse Tenstickers’ collection today, pick your perfect blind, and enjoy a crisp, custom look in no time. And if you hit any snags—don’t worry—our support team is here to help every step of the way.