Looking to personalise your vehicle with a high-quality vinyl decal? Whether it’s a sleek logo, racing stripe, or creative artwork, knowing how to put a sticker on a car properly is key to achieving a clean, long-lasting result. At Tenstickers, we provide premium car stickers and clear, easy-to-follow instructions to help you apply your design like a pro — no experience required.

What Will I Receive with My Car Sticker Order?
When you purchase a car decal from TenStickers, your order will arrive in a protective cardboard tube or bubble envelope, ensuring your sticker and accessories are safe during transit. If you ordered a spatula, it will be included.
You’ll also find a square sample sticker to test adhesion and placement before applying your actual design. If you’re not installing the sticker right away, we recommend removing it from the packaging and laying it flat.
Tools You’ll Need to Apply Your Car Sticker
Before you begin, gather these essentials:
- A spatula or something similar (a credit card or ID works fine)
- A clean, dry cloth
- Optional (for glass or windows): spray bottle, water, and mild soap (like dish soap)

How to Prepare the Car Surface for Application
The success of your sticker installation depends heavily on surface preparation. Follow these steps carefully:
- Ensure the surface is clean, dry, and free from dust, grease, or residue.
- Never use glass cleaner, as it leaves behind particles that interfere with adhesion. Use clean water or pharmacy-grade alcohol instead.
- The ideal surface for vinyl is smooth and non-porous. For textured or uneven surfaces, contact us at info.uk@tenstickers.com for advice.
TIP: For glass surfaces (e.g., car windows), ensure they’re completely clean and use the spray method detailed below.
How to Apply the Sticker to Your Car
Follow these steps for perfect placement every time:
Step-by-Step Vinyl Sticker Application
- Open the packaging and unroll your sticker. Identify all parts (some large designs arrive in multiple pieces).
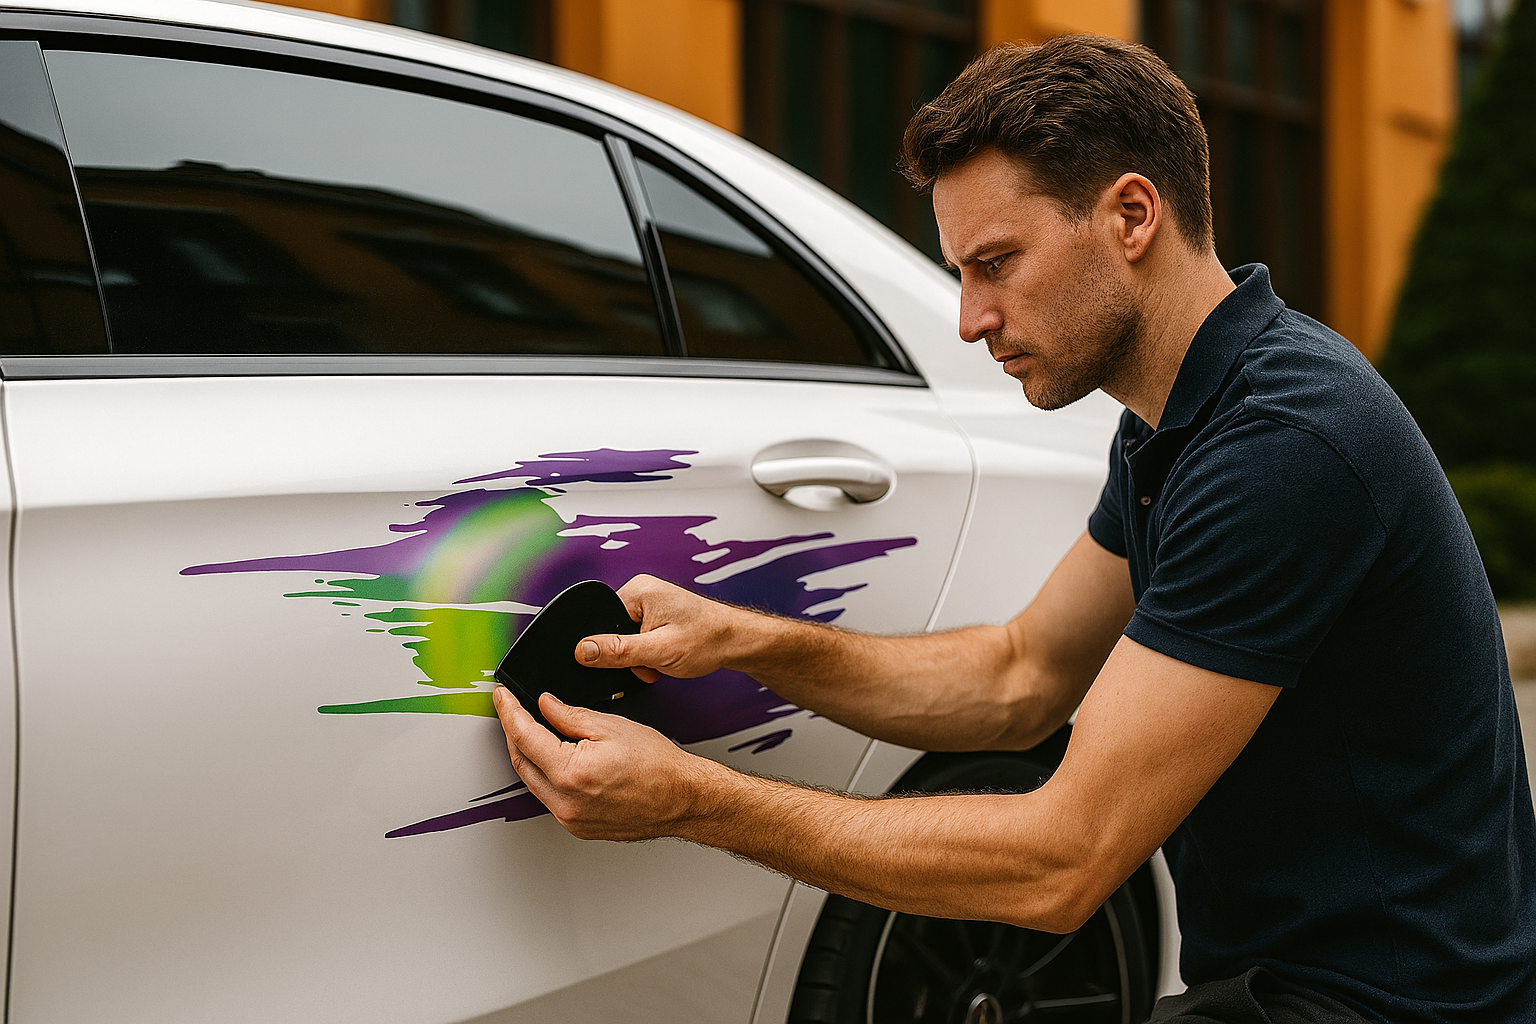
- Firmly rub the spatula across the top layer (protective paper) to ensure the vinyl is attached properly, especially in areas with fine details.
- Measure and mark the desired position on the car.
- Peel back around 5 cm of the backing paper (white silicon layer) from the top.
- Stick the top edge of the sticker to the car, securing it in place.
- Slowly remove the rest of the backing paper while simultaneously smoothing the sticker with your spatula, working from the centre outward to avoid air bubbles.
- Go over the sticker several times with the spatula to ensure good adhesion.
- Carefully remove the transparent transfer layer at a 180-degree angle.
Special Instructions for Car Windows and Glass Surfaces
If you’re applying a sticker to glass (e.g., rear windows or windshields), use the wet application method for best results:
- Mix 200ml of water with 2–3 drops of mild soap in a spray bottle.
- Spray and clean the glass surface thoroughly. Dry it.
- Spray the surface again with the solution.
- Place the sticker in position — the wet surface allows repositioning and minimises air bubbles.
- Use the spatula to press out water and air.
- Let it dry for 12–24 hours. Only after this period should you remove the transfer paper (if included).
Final Tips for Long-Lasting Results
- Avoid washing the car for at least 48 hours after application.
- In colder weather, allow for extra drying time.
- Be patient — high-quality vinyl like ours is flexible and forgiving when handled properly.
Custom Car Stickers with Tenstickers
Whether you’re adding a logo, brand, quote or racing stripe, Tenstickers offers fully customisable designs for all car types. Our vinyls are UV-resistant, weatherproof, and easy to apply. If you ever need help choosing the right size or finish, our support team is always ready to assist.
Add style and customisation to your car with TenStickers!