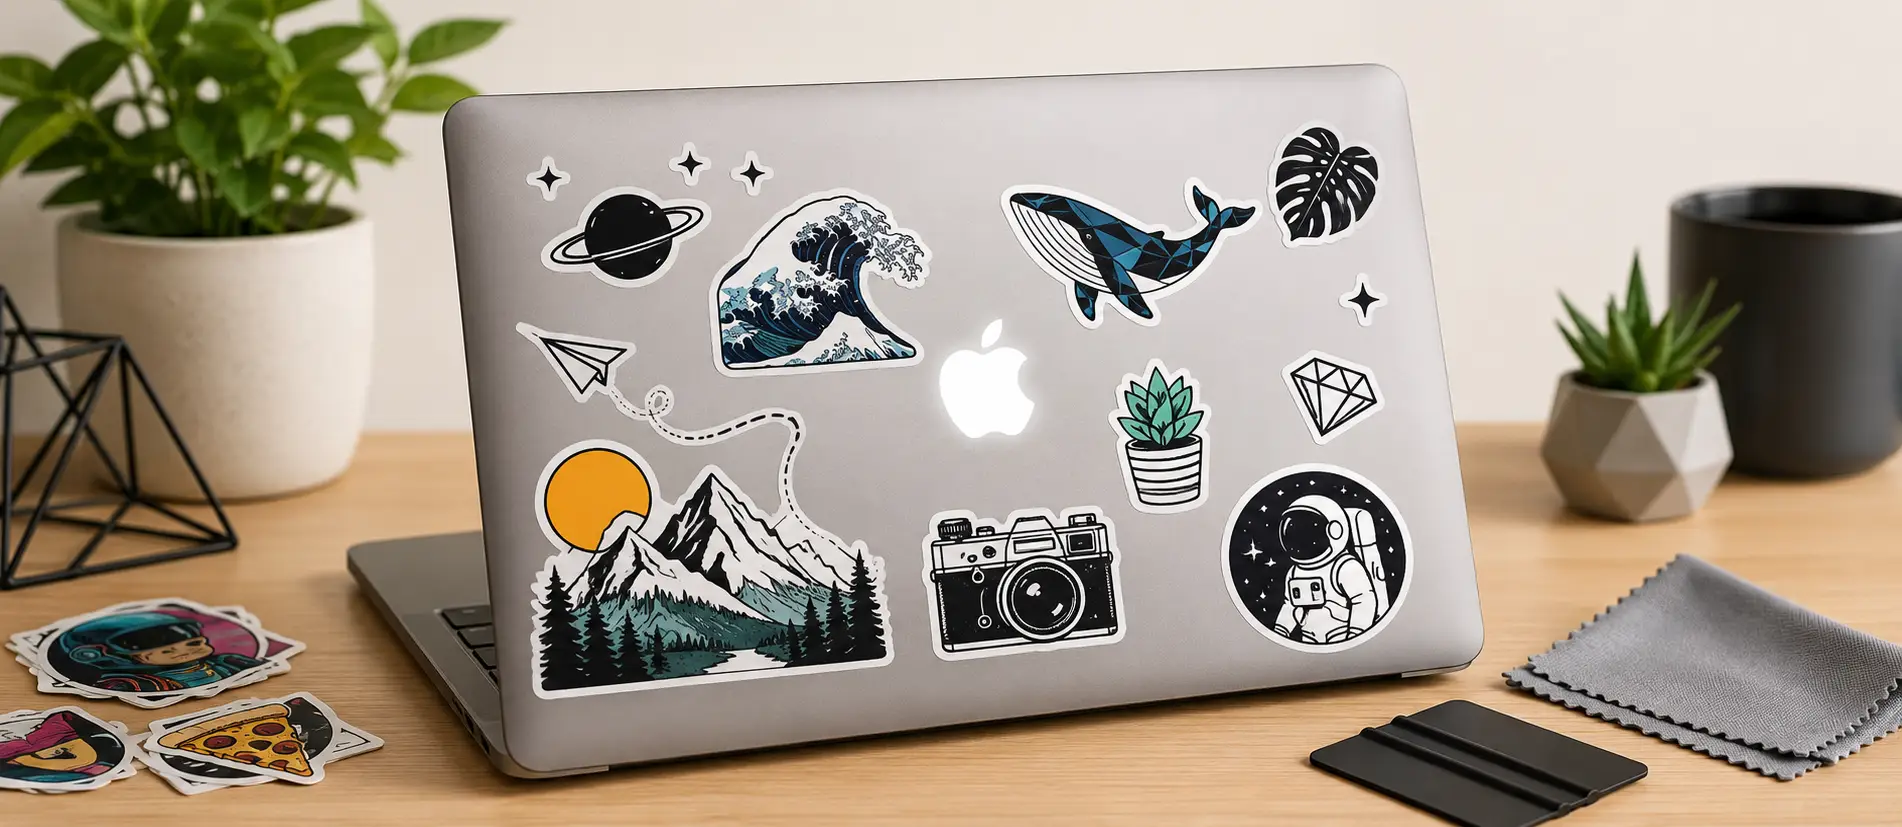

Decorating your laptop with stickers is one of the easiest ways to make a plain device feel like yours — but do it wrong and you’re left with bubbles, peeling corners or sticky residue on the lid. The good news is that with the right vinyl and a two-minute technique, laptop stickers go on flawlessly and come off cleanly whenever you fancy a change. Here’s exactly how to do it.
Do stickers damage your laptop?
This is the first question most people ask, and the honest answer is: it depends on the sticker. Cheap paper stickers and craft-store decals often use aggressive glue that leaves a gummy film behind. Purpose-made vinyl laptop stickers are different — they’re engineered with a removable adhesive that grips firmly while you use it, then peels away without marking the paint, metal or plastic underneath. If you want to restyle your device later, or you’re worried about resale value, vinyl is the safe choice.
What you’ll need
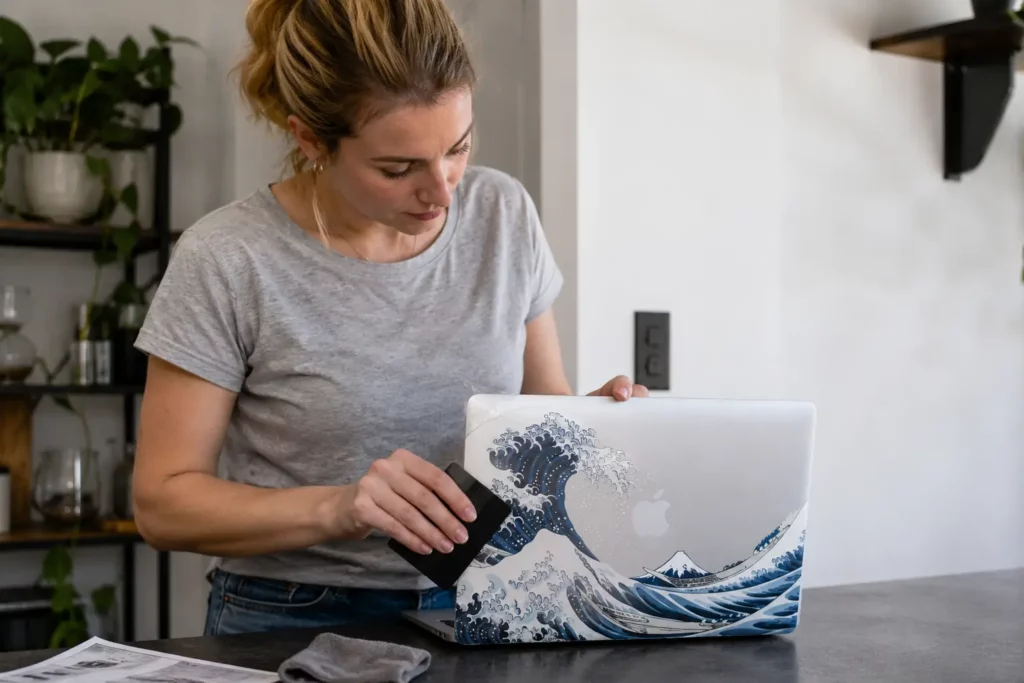
You don’t need much: your sticker, a lint-free cloth, and a bank card or squeegee to smooth it down. That’s it. If you’re applying a large decal, a little masking tape helps you line it up before you commit.
How to apply a laptop sticker, step by step
- Clean the surface. Wipe the lid with a slightly damp, lint-free cloth to remove dust, grease and fingerprints, then let it dry completely. Vinyl won’t stick reliably to an oily surface.
- Plan your placement. Hold the sticker against the lid and decide where it should sit. On a MacBook, many designs are made to frame or interact with the glowing logo. Use a strip of masking tape as a hinge if you want to be precise.
- Peel and position. Remove the backing paper, keeping the design on its transfer film. Lower it onto the lid from one edge rather than dropping it flat — this stops air getting trapped underneath.
- Smooth it down. Using a card, press firmly from the centre outwards. Any small bubbles will move to the edges and disappear.
- Remove the transfer film. Peel the top film away slowly at a low angle, leaving the design stuck to the lid. Done.
How to avoid bubbles
Bubbles happen when air gets trapped or the surface wasn’t clean. Always work from the middle outwards, go slowly, and if a stubborn bubble appears, prick it with a pin and press the air out. On textured or curved surfaces, warming the vinyl slightly with a hairdryer makes it more flexible and easier to conform.
How to remove a laptop sticker cleanly
When you’re ready for a new look, peel the sticker back on itself at a low, shallow angle. If it’s been on for months, warm it first with a hairdryer for ten to twenty seconds to soften the adhesive. Quality vinyl lifts away without residue; if any faint tackiness remains, a dab of rubbing alcohol on a cloth clears it instantly.
Laptop sticker ideas to get you started
- Minimalist: a single line-art shape or your initials for an understated, professional look.
- Statement: a bold illustration or colour block that fills the lid and turns heads.
- Themed: film, music, gaming or nature designs that show off what you love.
- Personalised: upload your own photo, logo or quote for a one-of-a-kind decal.
- Layered: build up a collage of smaller stickers over time for that well-travelled look.
Make it yours
A laptop sticker is a small change that makes a big difference — it protects your device, helps you spot it in a crowd and gives a mass-produced machine some personality. Choose a durable vinyl design, follow the steps above, and you’ll get a clean, bubble-free finish that lasts as long as you want it to and lifts off without a trace when you don’t.
Ready to redesign your device? Explore our full collection of laptop stickers and decals, or upload your own artwork for a custom design made to order.