


1
of
5
Personalised photo sticker refrigerator
Reference: A4928
Premium Member price:
From
£4.51
From
£4.75
Information Personalised photo sticker refrigerator
Personalised Fridge Decals: Elevate Your Kitchen Aesthetics with Custom Vinyl Stickers
Revolutionise your kitchen decor with our personalised photo fridge decals, where creativity meets functionality. Transform your refrigerator into a canvas of self-expression with our vinyl stickers, designed to bring a touch of style and personalisation to your kitchen. Let's delve into the features that make our products the perfect choice for those seeking a unique and customisable kitchen decor.
Unleashing Creativity: Vinyl Fridge Stickers
Vibrant Matt Colours: Our customisable refrigerator decorative covers are produced in a captivating array of matte colours, adding a touch of elegance to your kitchen. Choose from a spectrum of hues that seamlessly integrate into your kitchen's color scheme, creating a harmonious and visually appealing space.Custom Sizes for Personalisation: Embrace the freedom of customisation! We produce our fridge door stickers to order, allowing you to tailor the sizes according to your preferences. Whether you want a subtle accent or a bold statement piece, our customisable sizes ensure a perfect fit for your refrigerator.
Top-Quality Materials: Manufactured with precision and care, our personalised refrigerator decorative decals boast a grammage of 80 microns. This ensures durability and longevity, promising a product that withstands the daily wear and tear of a bustling kitchen environment.
Built-in Adhesive for Effortless Application: Applying our custom photo fridge kitchen decals is a breeze, thanks to the built-in adhesive. Enjoy a hassle-free installation process that guarantees a seamless finish. No need to worry about complex setups – our decals are designed for easy application.
Where Style Meets Practicality: Fridge Kitchen Sheet Decals
Resistant and Washable: Life in the kitchen can get messy, but our kitchen fridge stickers are up to the challenge. They are resistant to spills and stains, ensuring that your personalised design remains vibrant and intact. Plus, cleaning is a breeze – just use a damp cloth and a little neutral soap.Versatile Placement: Our fridge photo sheet stickers are suitable for any flat surface, not limited to refrigerators alone. Explore creative possibilities by applying them to cabinets, kitchen walls, or any other flat surfaces. Let your imagination run wild as you design a cohesive kitchen theme.
Durability for Years to Come: Invest in kitchen decor that stands the test of time. With a durability of 8-10 years, our fridge decals promise long-lasting style. Enjoy the beauty of a personalised kitchen that remains fresh and captivating for years to come.
DIY Made Easy: We believe in making customisation accessible to everyone. Our website offers a spatula that facilitates the application process, ensuring that even DIY enthusiasts with no prior experience can achieve professional-looking results.
Buy now at a discount!

You may also need
Material: Self-adhesive polyvinyl chloride (PVC)
Thickness: Between 75–90 microns
Composition: 100% PVC
Temperature resistance: -50ºC to 90ºC
Custom-made: Choose the size you want, and we’ll adapt the design accordingly. If the desired size is smaller than the minimum shown on the website, please contact us by phone or email.
Fully customisable: If you’d like to modify any part of the design, feel free to contact us.
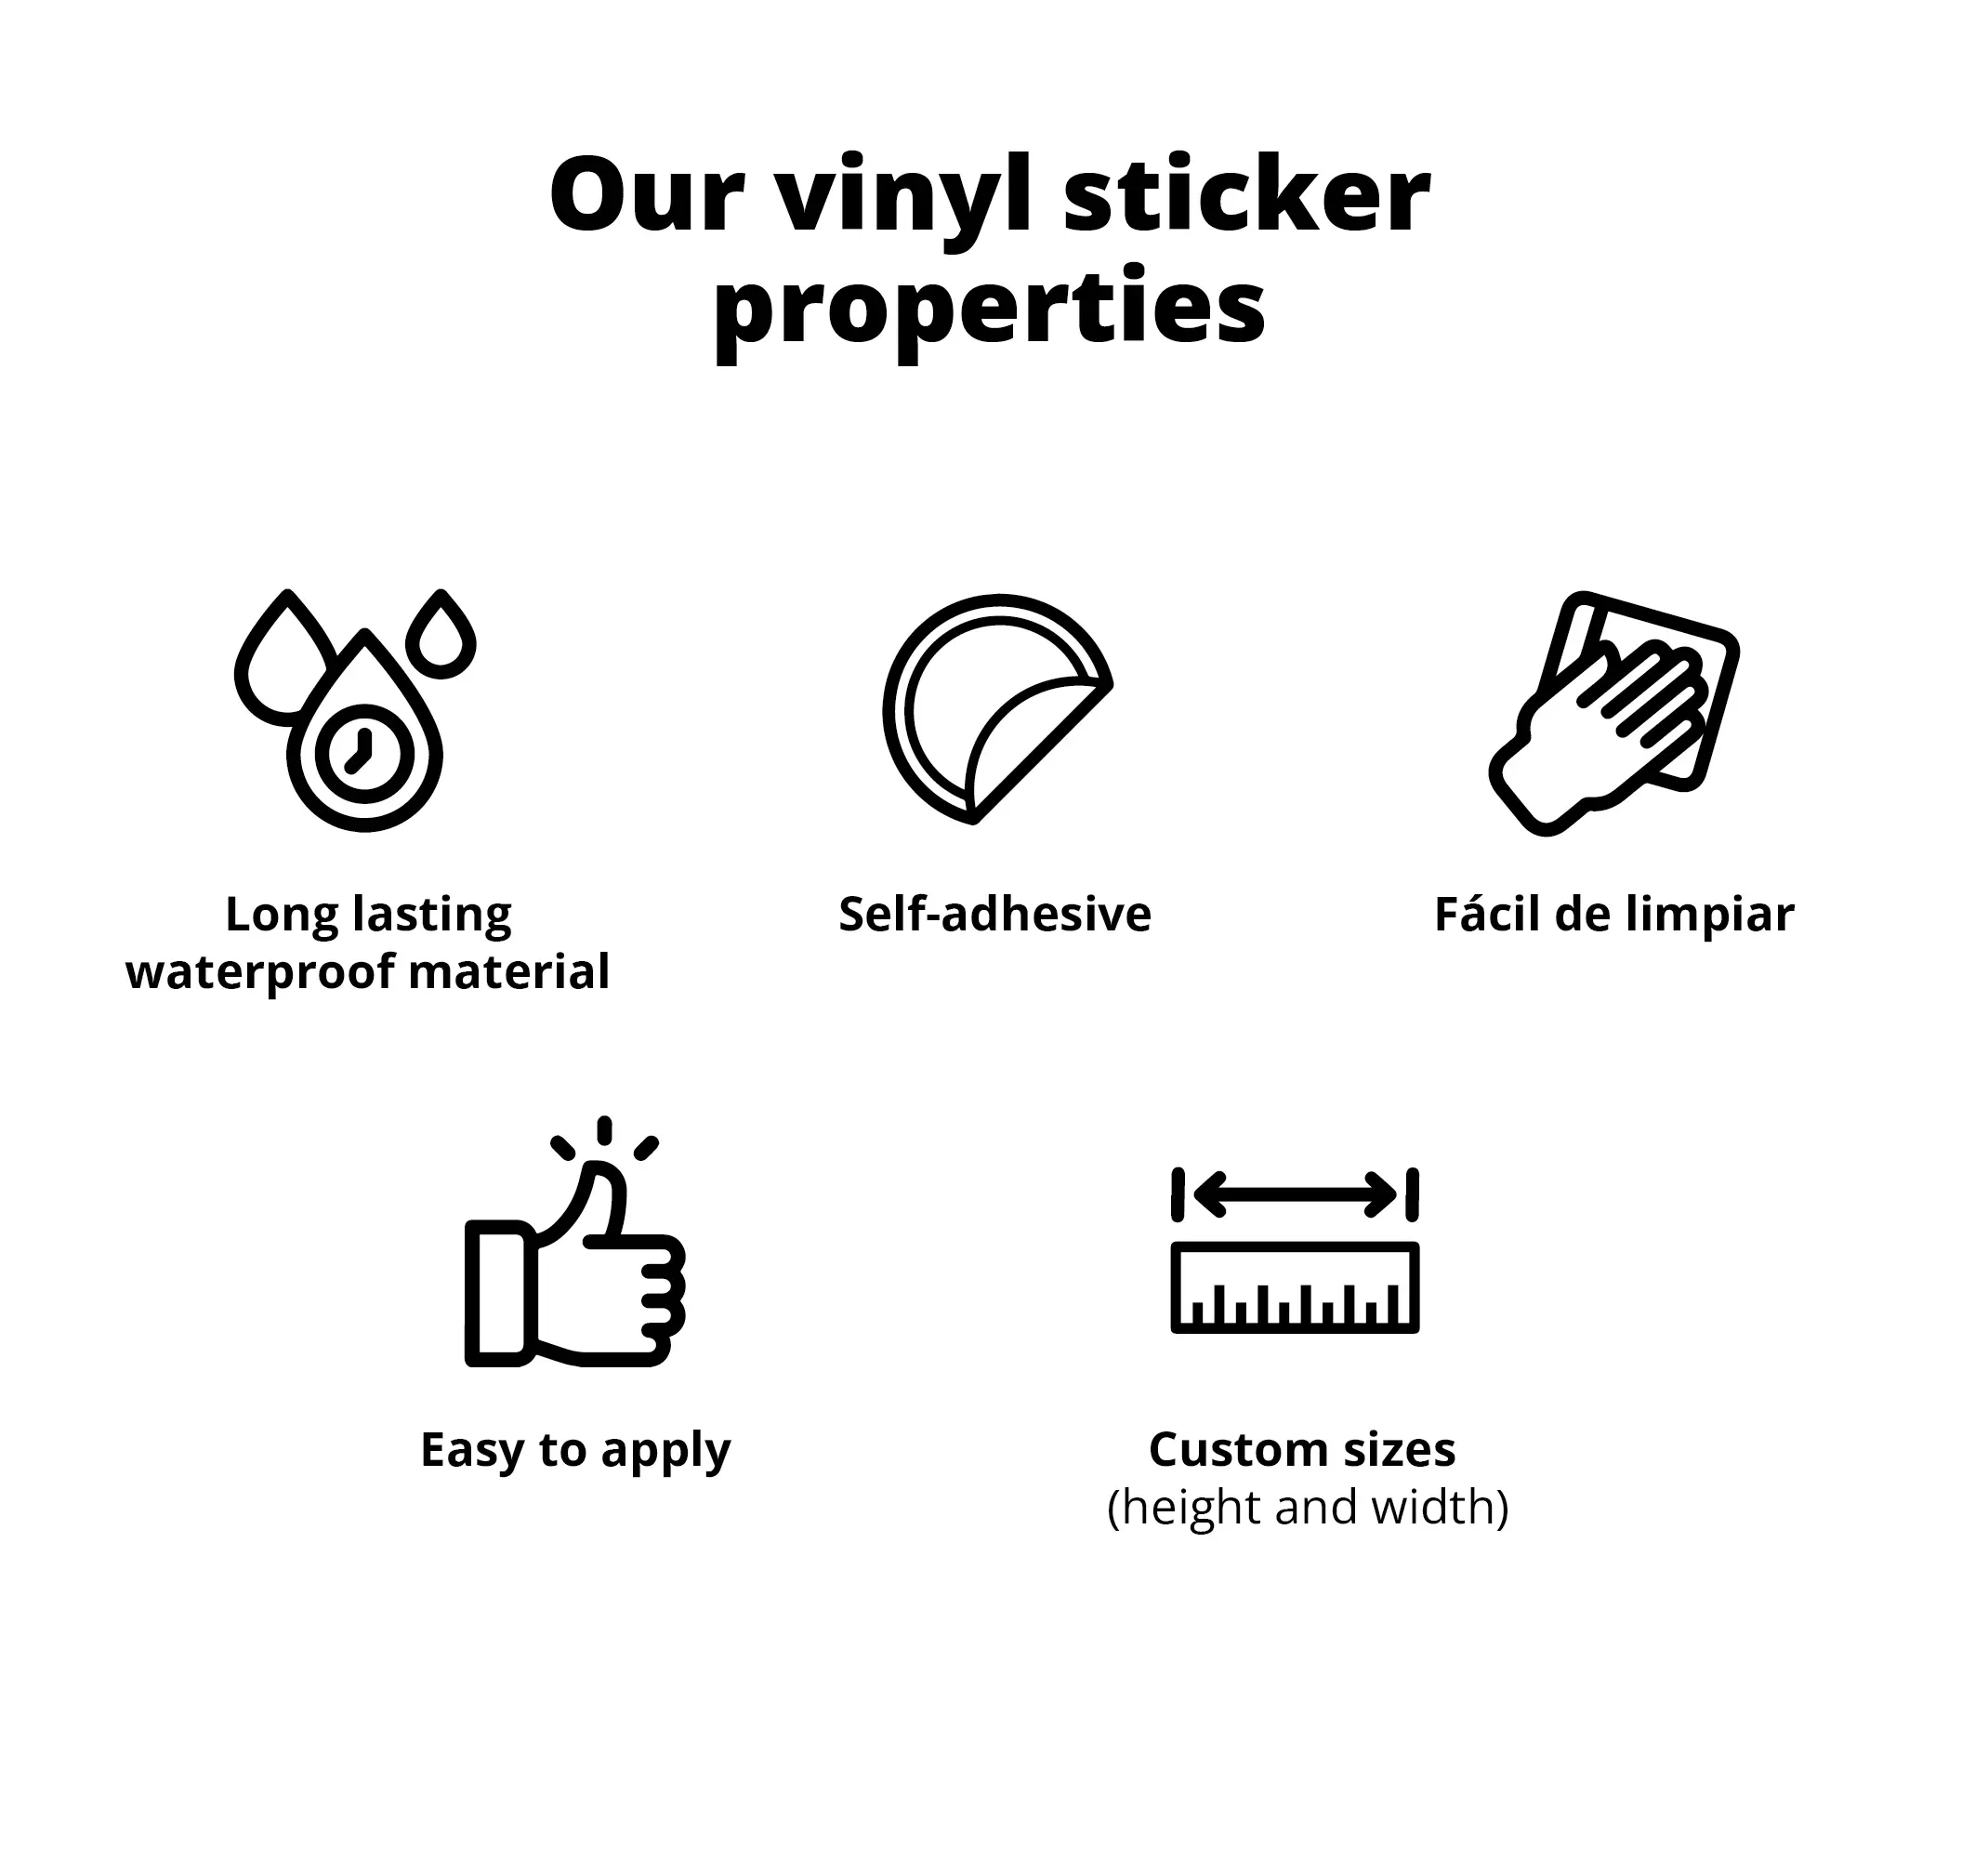
For indoor and outdoor use: Waterproof and moisture-resistant material.
Suitable surfaces: Any flat, smooth surface (walls, furniture, vehicles, windows, etc.)
Unsuitable surfaces: Rough or textured walls and fabrics. (If in doubt, you can send us a photo of your surface so we can confirm whether it’s suitable or not.)
Available finishes:
1.Semi-matte (satin): Non-glossy finish that prevents reflections and gives a modern, elegant look. It softly enhances colors and hides fingerprints or small imperfections.
2.Translucent: Lets some light through without being completely transparent, providing privacy without darkening the space — ideal for windows or partitions.
3.Fluorescent: Bright, vivid colors that glow under natural or artificial light. Increases visibility and attracts attention — perfect for signage or bold decorative designs.
4.Metallic gold and silver: Shiny, reflective finish similar to metal. Adds a sophisticated, eye-catching touch — ideal for decorative accents or elegant logos.
Easy to clean: Washable with water and mild soap (avoid harsh cleaners).
Application spatula available: on our website.
Eco-friendly printing: Stickers with printed images are made using HP eco-friendly inks.
100% secure payment methods
Thickness: Between 75–90 microns
Composition: 100% PVC
Temperature resistance: -50ºC to 90ºC
Custom-made: Choose the size you want, and we’ll adapt the design accordingly. If the desired size is smaller than the minimum shown on the website, please contact us by phone or email.
Fully customisable: If you’d like to modify any part of the design, feel free to contact us.
For indoor and outdoor use: Waterproof and moisture-resistant material.
Suitable surfaces: Any flat, smooth surface (walls, furniture, vehicles, windows, etc.)
Unsuitable surfaces: Rough or textured walls and fabrics. (If in doubt, you can send us a photo of your surface so we can confirm whether it’s suitable or not.)
Available finishes:
1.Semi-matte (satin): Non-glossy finish that prevents reflections and gives a modern, elegant look. It softly enhances colors and hides fingerprints or small imperfections.
2.Translucent: Lets some light through without being completely transparent, providing privacy without darkening the space — ideal for windows or partitions.
3.Fluorescent: Bright, vivid colors that glow under natural or artificial light. Increases visibility and attracts attention — perfect for signage or bold decorative designs.
4.Metallic gold and silver: Shiny, reflective finish similar to metal. Adds a sophisticated, eye-catching touch — ideal for decorative accents or elegant logos.
Easy to clean: Washable with water and mild soap (avoid harsh cleaners).
Application spatula available: on our website.
Eco-friendly printing: Stickers with printed images are made using HP eco-friendly inks.
100% secure payment methods
You will receive your sticker carefully rolled inside a protective cardboard tube. The tube has a white cap secured with staples, which you should remove before taking out the sticker.
Stickers that are A4 size or smaller are shipped in padded envelopes with bubble wrap for protection.
Stickers with cut-out designs or separate parts will be shipped with transfer paper to make application easier. One-piece stickers or those with simple shapes will not include transfer paper, as they can be easily applied without it.
This tutorial explains clearly and precisely how to apply decorative stickers, answers common questions and provides contact options in case of any issues.
You’ll need: A spatula or similar tool (credit card, ID card) and a clean cloth.
What’s included: The sticker and accessories in protective packaging, plus a free sample sticker so you can test adhesion and application. If you’re not applying it immediately, store the sticker flat.
Surface preparation: The surface must be dry, clean (free from dust, liquids or stains), smooth, and non-porous. Plastic paint is recommended for walls. Wait 4–6 weeks if the wall was recently painted. Clean with water or alcohol - never with glass cleaner. Chalkboard stickers require an absolutely smooth surface. Unroll and press the sticker upon arrival.
Application steps (Opaque surfaces):
Unroll the sticker and check it’s complete.
Firmly press the transfer paper onto the sticker (especially on small details).
Measure and position it on the wall.
Fold back about 5 cm of the top backing paper.
Fix the top part of the sticker to the wall.
Remove the backing paper and apply the sticker using the squeegee, working from the center outward.
Rub over the transfer paper again to ensure good adhesion.
Remove the transfer paper slowly at a 180° angle. (Some stickers don’t include transfer paper.)
Application on glass (with water and soap):
Spray the glass with a mix of water and mild soap (not glass cleaner).
Wipe to remove any dust or residue.
Spray again with the mixture.
Apply the sticker (it will be movable at this stage) and use the squeegee to remove excess liquid.
Let it dry for 12–24 hours. If transfer paper is included, remove it after drying.
Standard 5 days home delivery.
Express delivery within 24 hours to your home address available.
Express delivery within 24 hours to your home address available.
These shipping conditions are indicative and non-binding. The final delivery times and costs will be shown when selecting the final delivery address and transport agency.
Surface:
Fridge Stickers
Main page:
Wall Stickers
4.9 / 5
of 29 happy customers
Ratings
Reviewed in
 the
15/06/2026
at
23:32 h
the
15/06/2026
at
23:32 h
the
15/06/2026
at
23:32 h
Reviewed in
 the
10/03/2026
at
23:09 h
the
10/03/2026
at
23:09 h
the
10/03/2026
at
23:09 h
Reviewed in
 the
18/12/2025
at
09:41 h
the
18/12/2025
at
09:41 h
the
18/12/2025
at
09:41 h
Reviewed in
 the
11/06/2025
at
07:23 h
had to wait a long time for delivery but the wait was worth it . great quality easy to apply
the
11/06/2025
at
07:23 h
had to wait a long time for delivery but the wait was worth it . great quality easy to apply
the
11/06/2025
at
07:23 h
Reviewed in
the
30/11/2024
at
21:42 h
Really great quality product that worked beautifully. We will use them again
the
30/11/2024
at
21:42 h

Reviewed in
the
05/05/2021
at
15:07 h
I bought a beer fridge for my husbands birthday and decided to personalise it with pictures of his favourite band. I used another company first and the stickers wouldn’t cling on to the fridge and were dark in print. I was nervous about trying again with another company but I’m so glad I found this one. My project is now complete. The stickers stayed on, were a good colour and easy to apply. Very happy customer
the
05/05/2021
at
15:07 h
Reviewed in
the
05/12/2020
at
10:34 h
the
05/12/2020
at
10:34 h
Reviewed in
 the
11/09/2025
at
05:12 h
the
11/09/2025
at
05:12 h
the
11/09/2025
at
05:12 h
Reviewed in
 the
22/03/2025
at
16:35 h
the
22/03/2025
at
16:35 h
the
22/03/2025
at
16:35 h
Reviewed in
 the
19/11/2024
at
12:46 h
the
19/11/2024
at
12:46 h
the
19/11/2024
at
12:46 h
Reviewed in
 the
19/08/2024
at
07:40 h
the
19/08/2024
at
07:40 h
the
19/08/2024
at
07:40 h
Reviewed in
 the
20/05/2024
at
15:57 h
the
20/05/2024
at
15:57 h
the
20/05/2024
at
15:57 h
Reviewed in
 the
19/04/2023
at
09:43 h
Korrekt szép munka, egyedi rendelés teljesítésre
the
19/04/2023
at
09:43 h
Korrekt szép munka, egyedi rendelés teljesítésre
the
19/04/2023
at
09:43 h
Reviewed in
 the
19/01/2023
at
19:23 h
I had a custom sticker made for my fridge and it turned out great, I am really pleased with the quality and it arrived fairly quickly taking into consideration the Christmas season.
the
19/01/2023
at
19:23 h
I had a custom sticker made for my fridge and it turned out great, I am really pleased with the quality and it arrived fairly quickly taking into consideration the Christmas season.
the
19/01/2023
at
19:23 h
Reviewed in
 the
03/12/2022
at
09:57 h
the
03/12/2022
at
09:57 h
the
03/12/2022
at
09:57 h
Reviewed in
 the
08/10/2022
at
09:49 h
the
08/10/2022
at
09:49 h
the
08/10/2022
at
09:49 h
Reviewed in
 the
25/06/2022
at
09:14 h
Ras
the
25/06/2022
at
09:14 h
Ras
the
25/06/2022
at
09:14 h
Reviewed in
 the
08/05/2021
at
17:12 h
the
08/05/2021
at
17:12 h
the
08/05/2021
at
17:12 h
Reviewed in
 the
28/02/2021
at
10:38 h
Bin sehr zufrieden Hab genau das bekommen was die Masse betrifft. Es ist wunderschön geworden
kann ich nur weiter empfehlen Auf die Lieferung musste ich auch nicht lange warten Würde wieder hier kaufen, bestellen
the
28/02/2021
at
10:38 h
Bin sehr zufrieden Hab genau das bekommen was die Masse betrifft. Es ist wunderschön geworden
kann ich nur weiter empfehlen Auf die Lieferung musste ich auch nicht lange warten Würde wieder hier kaufen, bestellen
the
28/02/2021
at
10:38 h
Reviewed in
the
30/01/2021
at
09:57 h
Das Kühlschrankbild ist super. Nur das Aufbringen auf die große Fläche war nicht ganz einfach. Leider sind ein paar ganz kleine Falten im oberen Bereich entstanden.
the
30/01/2021
at
09:57 h