

Wall mural halloween haunted castle scene
Reference: F10043A whimsical haunted castle emerges against a night sky, featuring towering spires, glowing windows, and a full moon. Accompanying the structure are playful pumpkins with carved faces, surrounded by ghostly hands and tombstones, creating an eerie yet festive Halloween atmosphere.
Transform your space into a spine-chilling masterpiece with our Wall mural halloween haunted castle scene. This captivating design features a spooky castle looming over a graveyard, surrounded by eerie pumpkins and a haunting moon. The combination of horror elements and Halloween charm creates an enchanting atmosphere that will leave your guests in awe!
Why this product should be used for decoration
If you're looking to elevate your Halloween decor, the Wall mural halloween haunted castle scene wall mural halloween is the perfect choice! This stunning mural not only adds a festive touch to your home but also sparks joy and excitement for the season. Imagine hosting a Halloween party where your friends and family marvel at the enchanting scene, bringing the spirit of Halloween alive!
How to apply this product
Applying the Wall mural halloween haunted castle scene wall mural halloween is a breeze! With just a few simple tools like a roller, brush, and cutter, you can easily bring this eerie design to life on your walls. Just use glue for a secure and lasting application, and your Halloween transformation will be complete in no time!
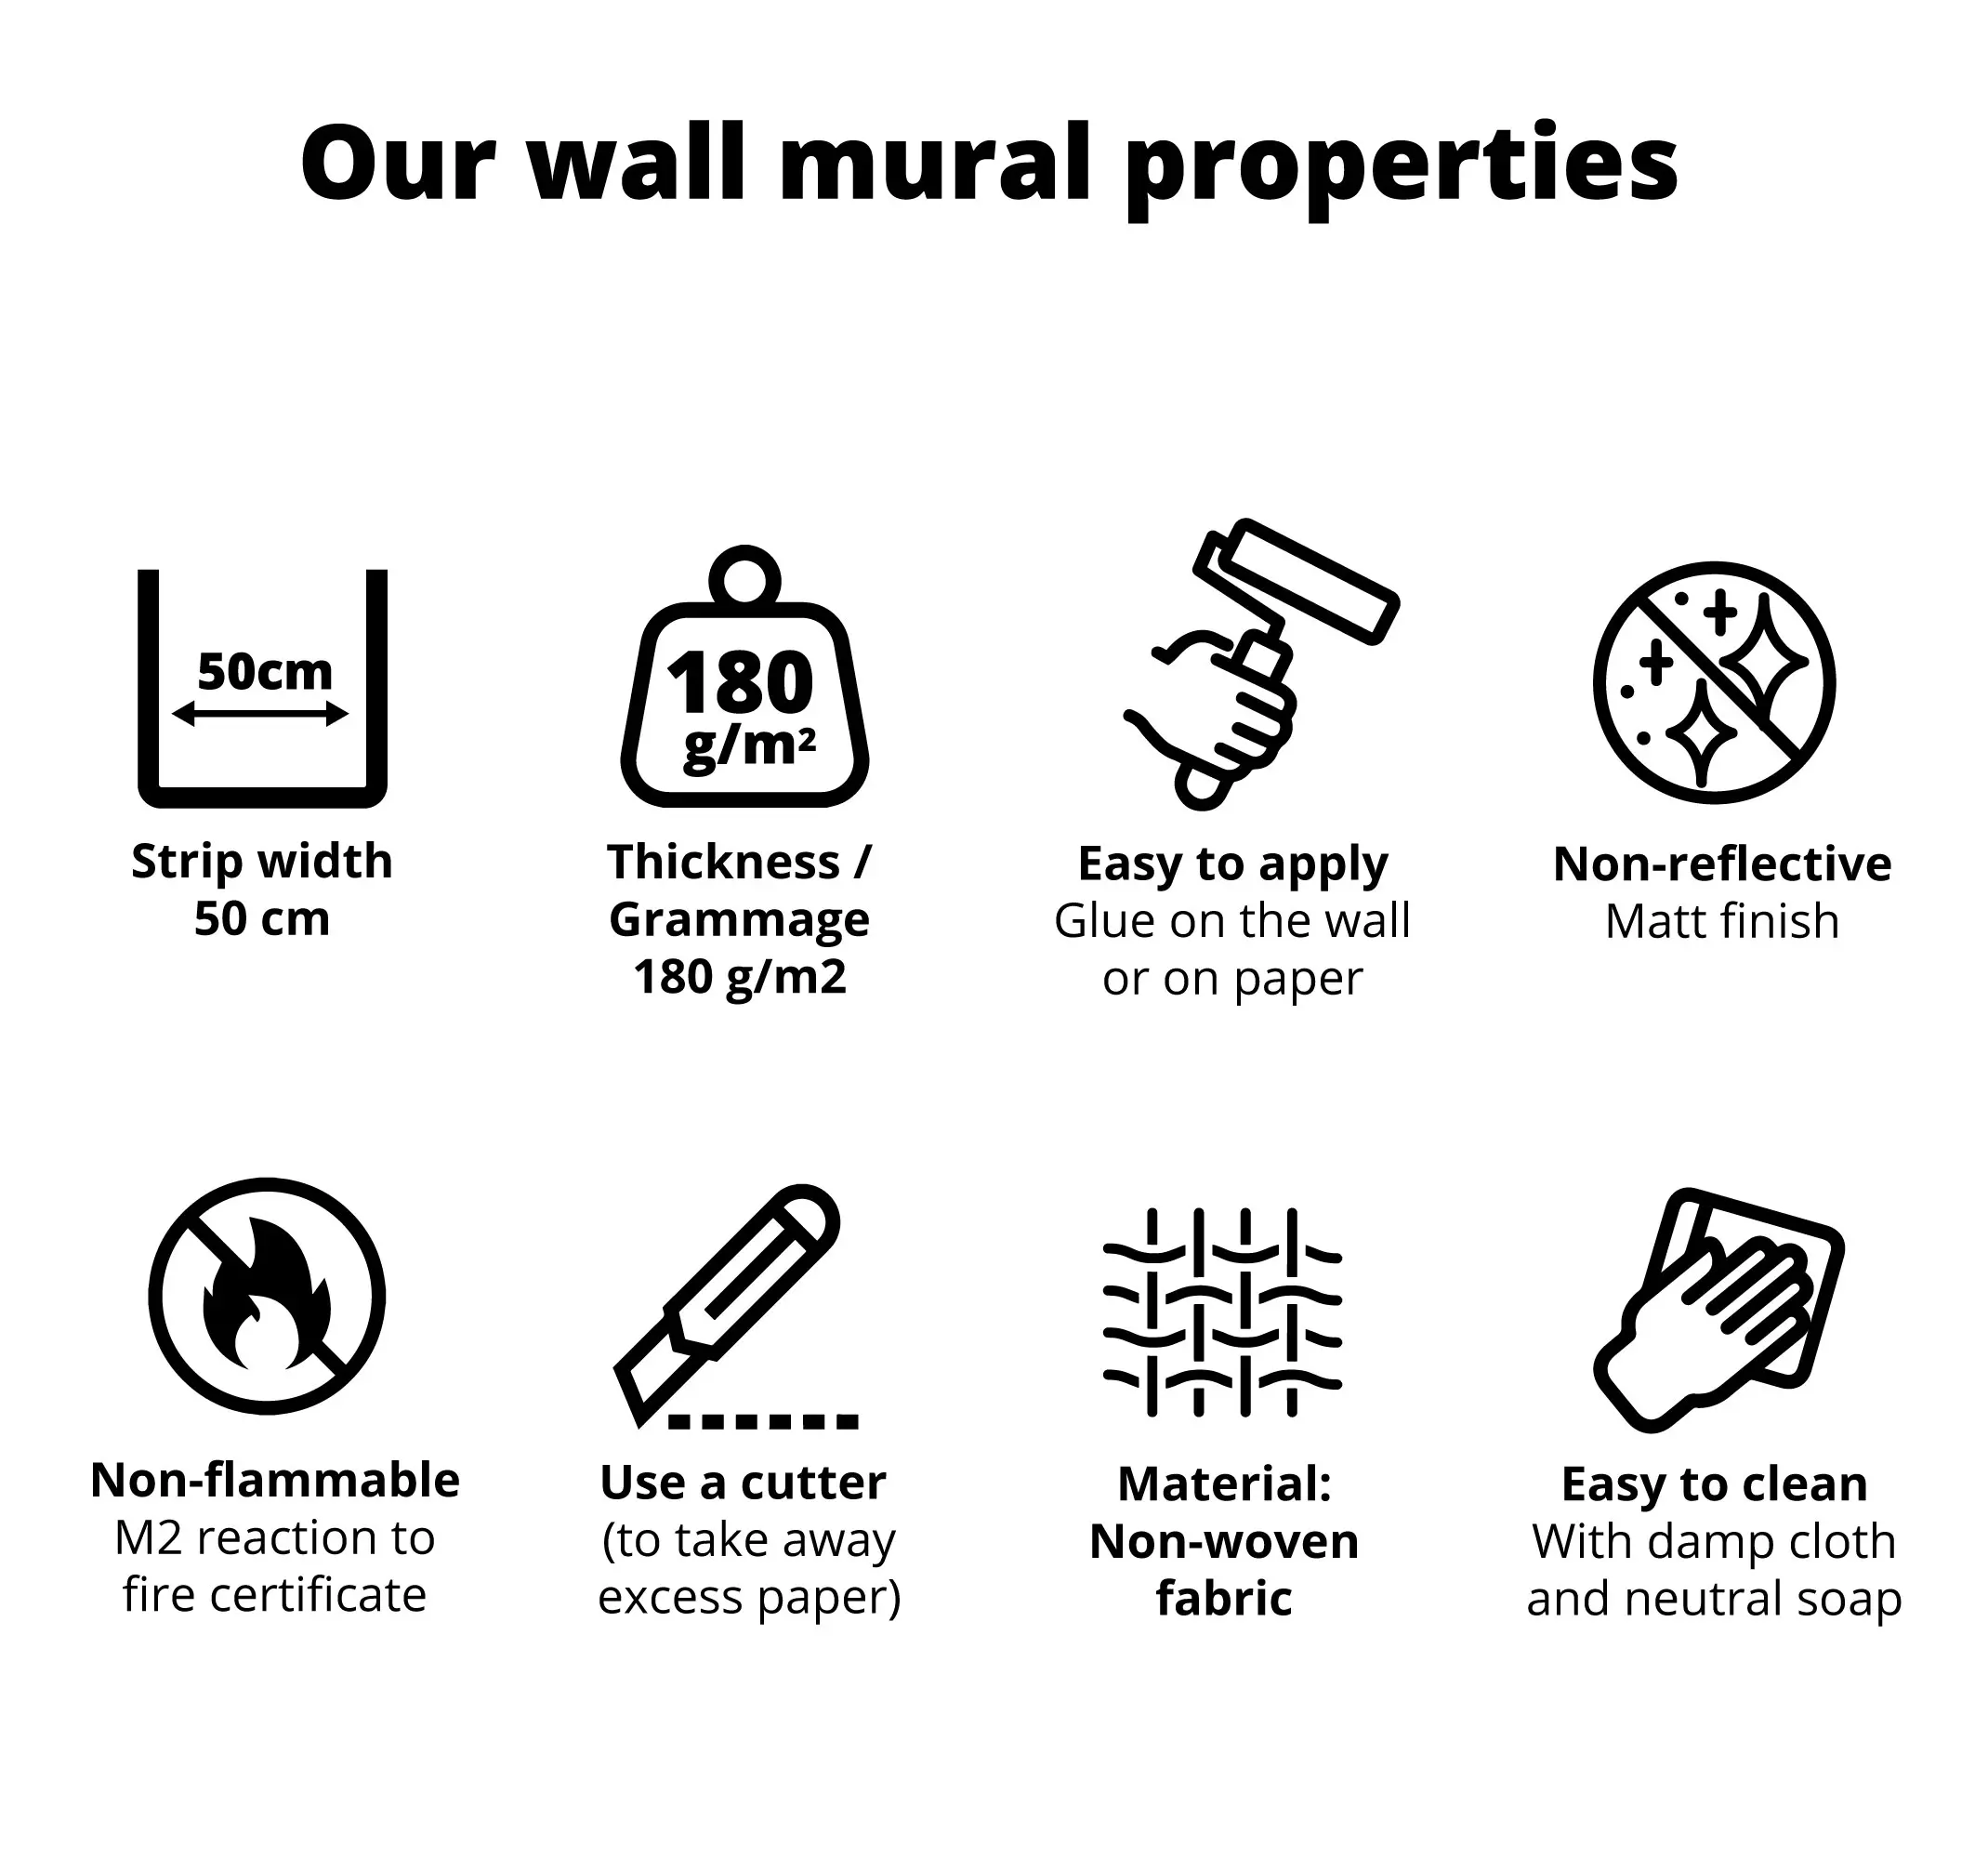
Manufactured in matt colours, this non-woven wallpaper is not just visually appealing but also practical. It can be easily cleaned with a damp cloth and a little neutral soap, ensuring it stays looking fresh throughout the festive season. With a durability of 10-15 years, it’s a lasting investment for your Halloween celebrations. Plus, it’s produced and shipped in convenient rolls, making it easy to handle and apply. Embrace the spirit of Halloween with this captivating design!

Strip width: 50 cm
Thickness / weight: 180 g/m2
Custom-made: select the measurements you want and we will adapt the design
100% customizable product: if you want to modify any element of the design, do not hesitate to contact us
Matte finish (satin): non-glossy finish with bright and elegant colors
Easily washable product: Can be gently cleaned with a damp cloth or a non-abrasive sponge and water
Easy installation (bubble-free): Stick directly onto the paper or wall
Suitable surface: Any flat surface
Installation tool kit available
Easy to clean: with a damp cloth and mild soap (do not use harsh products)
Fireproof certificate: M2
Easy to remove from the wall: peels off dry
100% recyclable product: made with eco-friendly inks
100% secure payments
Also, it will be wrapped in bubble wrap inside a sturdy cardboard package that protects the product during shipping.
Recommended materials:
1. Glue
2. Bucket
3. Ruler/tape measure
4. Spirit level
5. Glue brush
6. Brush/roller
7. Cutter
8. Sponge or cloth.
Before wallpapering (preparation):
Surface: The wall must be dry, clean, free of grease and free of any residue from previous wallpaper. Fill and smooth any large imperfections.
Glue: Mix one packet of glue (150g) with 4-5 litres of water. Leave to stand for 5-10 minutes and stir. This is sufficient for up to 25 m².
Temperature: Do not apply the wallpaper at temperatures below 10∘C or in low humidity. The optimum temperature is 18−21∘C.
Application:
Marking: Use a spirit level and ruler to draw vertical guide lines every 50 cm on the wall. Start from a window frame if applicable.
Pasting: Apply a thin layer of paste to:
Option 1: Directly onto the wall (slightly wider than the roll).
Option 2: Evenly on the back of the paper, from the centre outwards. Fold the ends so that the glued parts touch and leave to rest for a few minutes to allow it to soak slightly.
Hanging: Place the top of the roll on the wall and align it with the guide line. Slide gently if necessary.
Smoothing: Use the brush from the centre outwards (top to bottom) to remove air bubbles. Avoid getting glue on the brush if it has been applied to the wall.
Continuing: Repeat the steps for the following rolls, ensuring that the edges fit together and match the design.
Clean: Remove excess glue with a damp sponge or cloth.
After gluing:
Secure: Smooth the entire surface with the roller.
Drying: Small bubbles will disappear as they dry. Keep the room temperature above 10∘C for the first few days, avoiding excessive heating.
Express delivery within 24 hours to your home address available.